Getting accurate window measurements is the foundation of any successful replacement project. You need to measure the width at three points (top, middle, bottom), the height at three points (left, center, right), and always use the smallest measurement to ensure a proper fit. This approach prevents costly mistakes and ensures your new windows install correctly the first time.
Whether you’re dealing with older homes that may have settled over time or newer construction, precise measurements save you from gaps, drafts, and expensive reinstallation. Let’s walk through everything you need to know to measure your windows like a professional.
Quick Tip: According to the U.S. Department of Energy, properly fitted ENERGY STAR qualified replacement windows can save homeowners between $125 and $340 annually on energy costs.
Why accurate window measurements matter
Getting your window measurements wrong can turn a straightforward replacement project into an expensive headache. When windows don’t fit properly, you’re looking at air leaks that drive up energy costs, potential water damage from poor seals, and the frustration of reordering custom-sized units.
Older homes present unique challenges since settling and structural shifts can create openings that appear standard but aren’t actually square. Even a difference of half an inch can mean the difference between a smooth installation and costly modifications to your window frame. Similar to how proper gutter installation protects your home, precise window measurements are crucial for maintaining your home’s structural integrity.
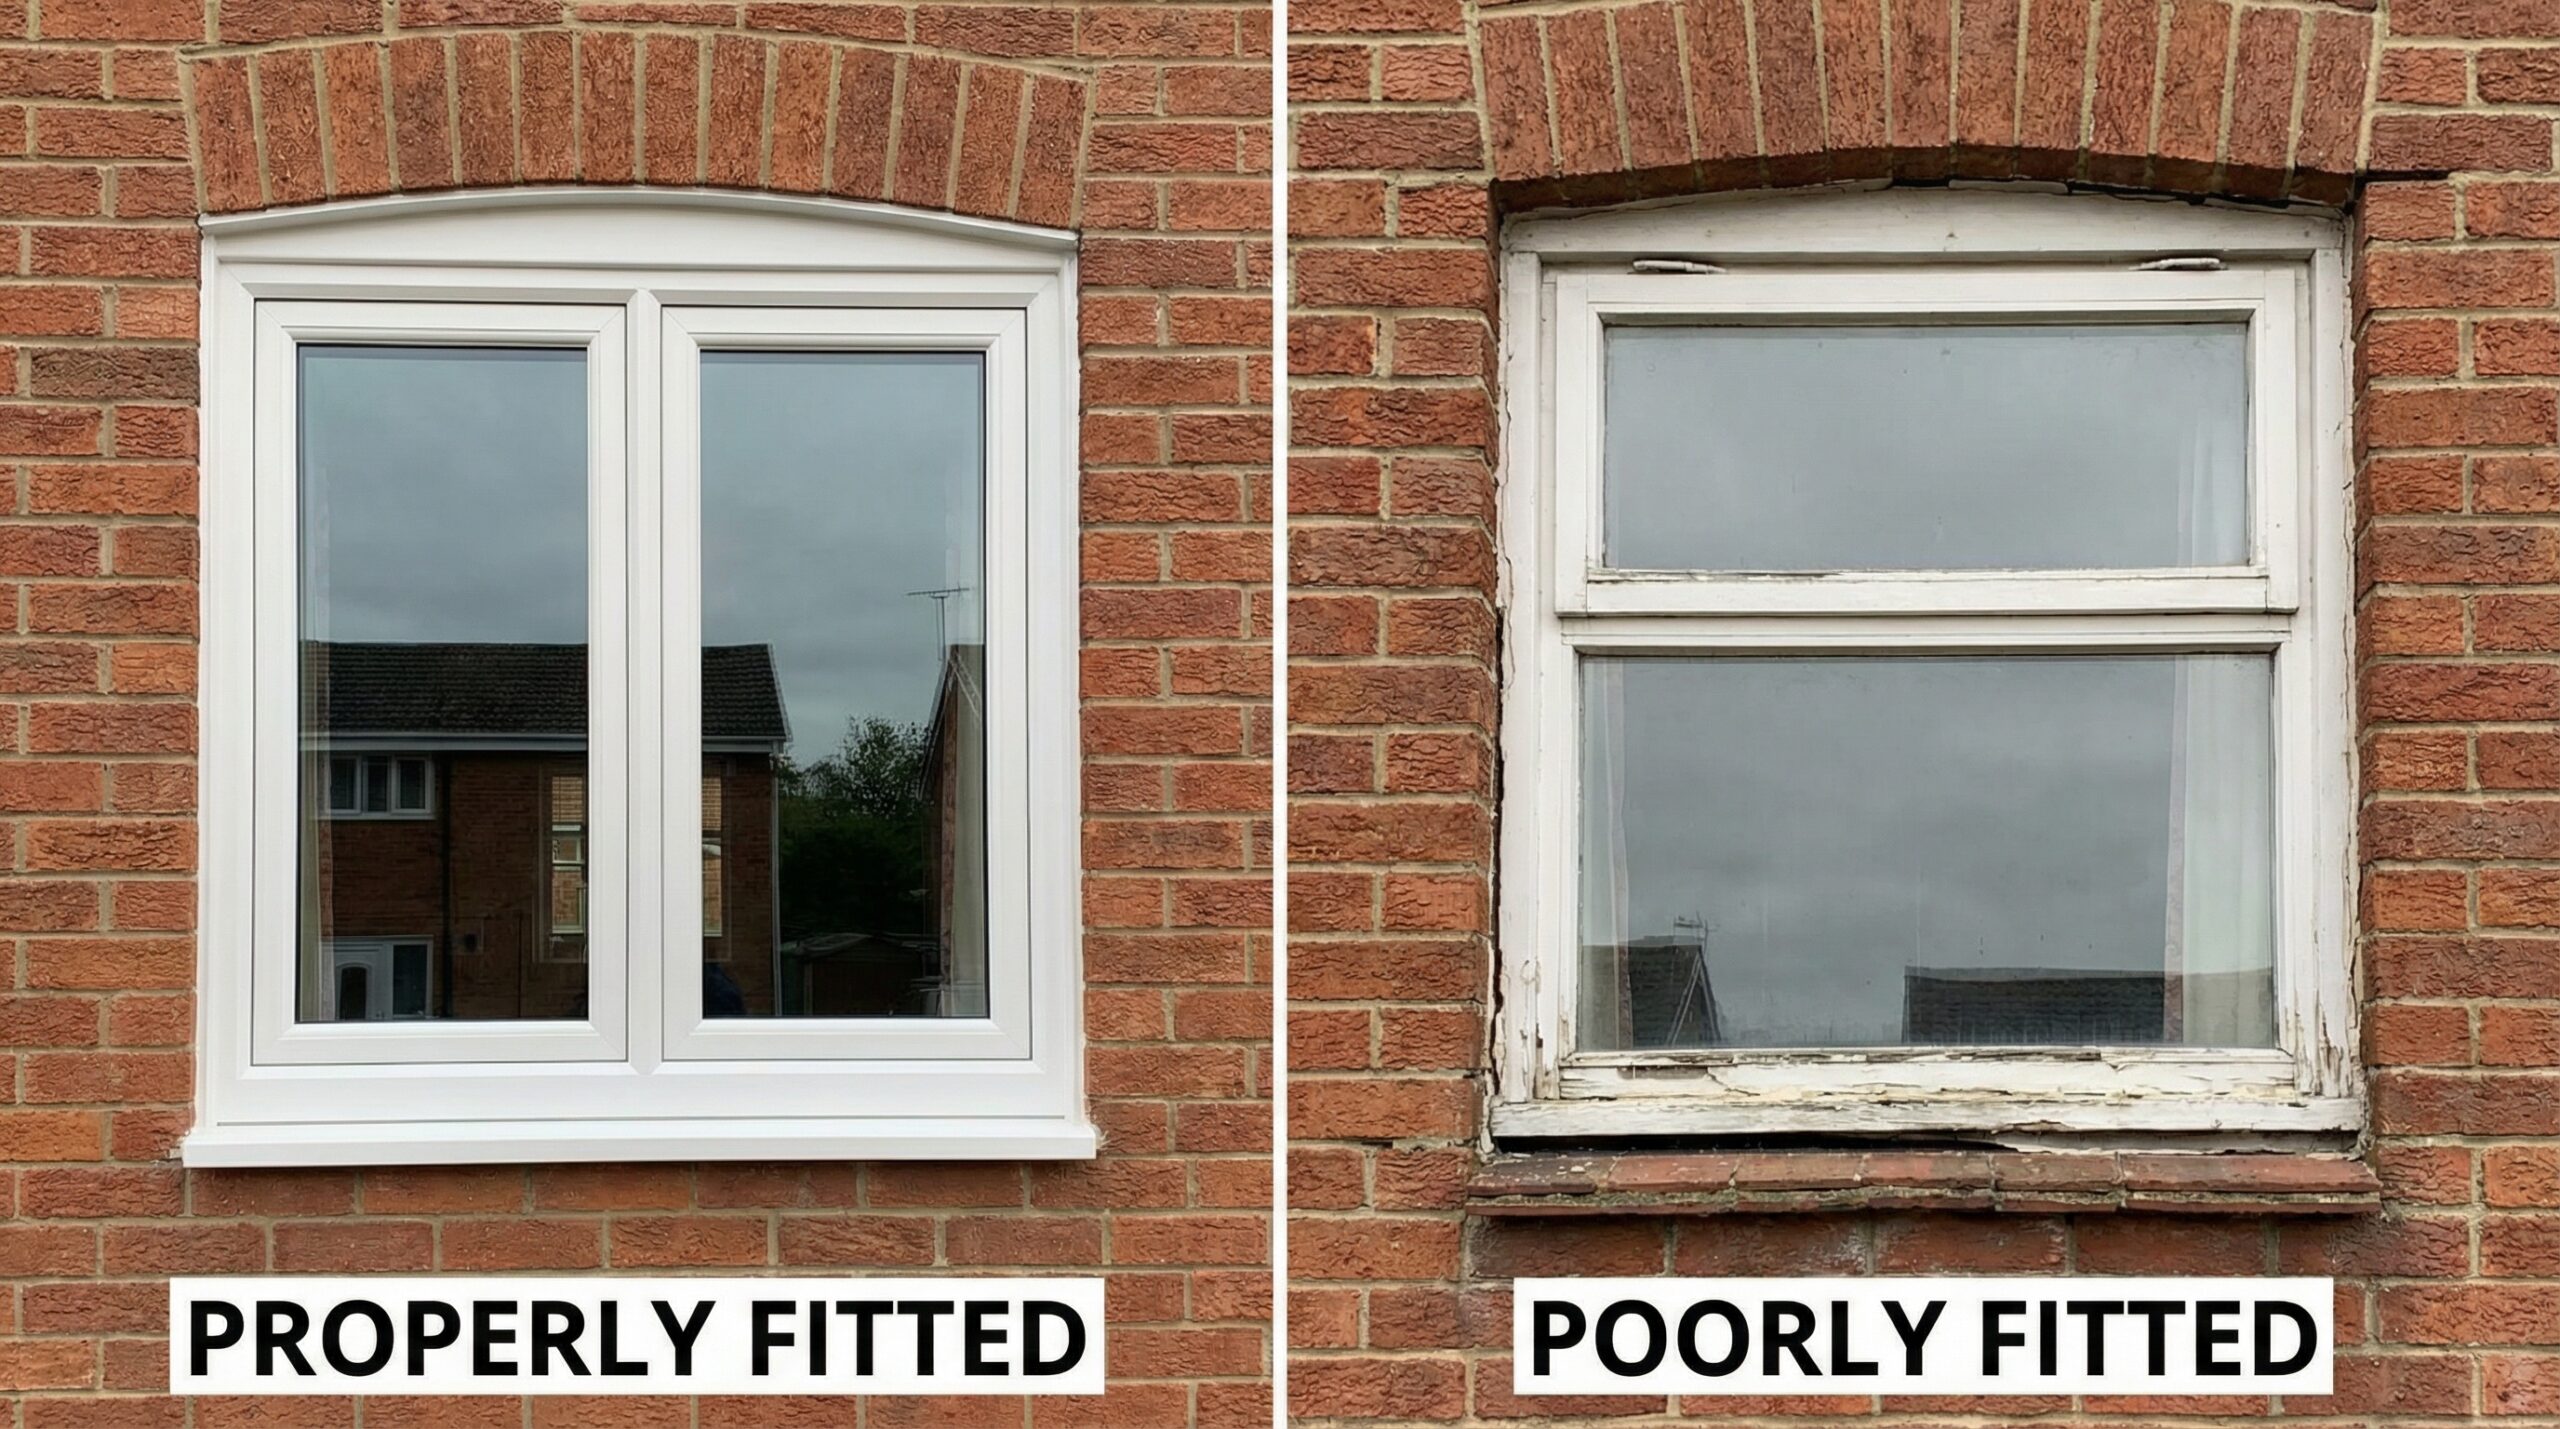
Accurate measurements also help you avoid the common mistake of ordering windows that are too large for the opening or too small, requiring additional framing work. When you measure correctly from the start, your installer can complete the job faster and with fewer complications.
Essential tools for measuring windows
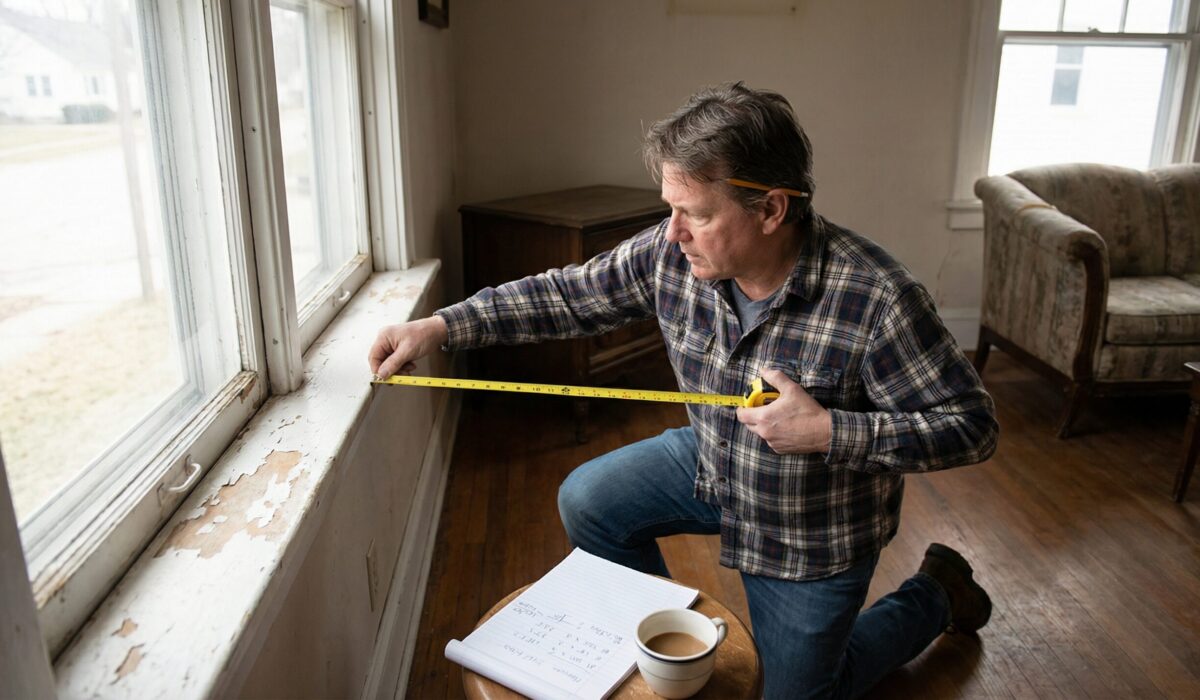
Before you start measuring, gather the right tools to ensure accuracy. You’ll need a 25-foot tape measure for reaching across larger openings, a level to check if your window frame is square, and a notepad to record all measurements clearly.
Having a helper makes the process much easier, especially for larger windows or hard-to-reach openings. Good lighting helps you see the frame edges clearly, and a camera can document the current condition of each window opening for reference.
Don’t forget safety equipment if you’re measuring upper-story windows. A sturdy ladder and someone to spot you prevents accidents during the measurement process.
Step-by-step measurement process
Measuring window width
Start by measuring the width of your window opening at three different points. Measure across the top of the frame, the middle, and the bottom, always measuring from jamb to jamb (the vertical sides of the frame). Record all three measurements, then use the smallest one as your working width.
This triple-check method accounts for irregularities that are common in older homes or buildings that have settled over time. Make sure you’re measuring the actual frame opening, not including any trim or molding around the outside.
Important: Always subtract 1/4 inch from your smallest measurement to allow for proper installation clearance and thermal expansion.
Measuring window height
For height measurements, measure from the sill (bottom of the frame) to the head jamb (top of the frame) at three points: left side, center, and right side. Again, record all measurements and use the smallest one for ordering your replacement window.
Pay special attention to the sill measurement. If there’s a sloped sill for water drainage, measure from the highest point where the window will actually sit. This ensures your new window will fit properly and maintain the proper seal. Understanding proper downspout placement can also help you identify how water flows around your window openings.
Checking frame depth and square
Measure the depth of your window frame from the interior surface to the exterior wall. Most standard replacement windows need at least 3¼ inches of depth, so note if your opening is shallower as this may require special ordering.
To check if your frame is square, measure both diagonals of the opening. If the measurements differ by more than ¼ inch, your frame is out of square and may need adjustment before installation.
Common measurement mistakes to avoid
The biggest mistake homeowners make is measuring the existing window instead of the frame opening. Your new window needs to fit in the frame opening, not replace the exact dimensions of the old window. Always measure the rough opening where the new window will actually sit.
Another common error is rounding up measurements instead of using the smallest reading. While it might seem logical to give yourself more room, windows that are too large simply won’t fit. Professional installers always work with the smallest measurement to guarantee a proper fit, much like understanding when to replace vs repair your gutters requires precise assessment.
Don’t assume all windows in your home are the same size, even if they look identical. Measure each opening separately and label your measurements clearly to avoid mix-ups during ordering.
| Measurement Type | What to Measure | Key Points |
|---|---|---|
| Width | Jamb to jamb at top, middle, bottom | Use smallest measurement |
| Height | Sill to head jamb at left, center, right | Measure from highest sill point |
| Depth | Interior frame to exterior wall | Minimum 3¼ inches needed |
| Square Check | Both diagonal measurements | Should differ by less than ¼ inch |
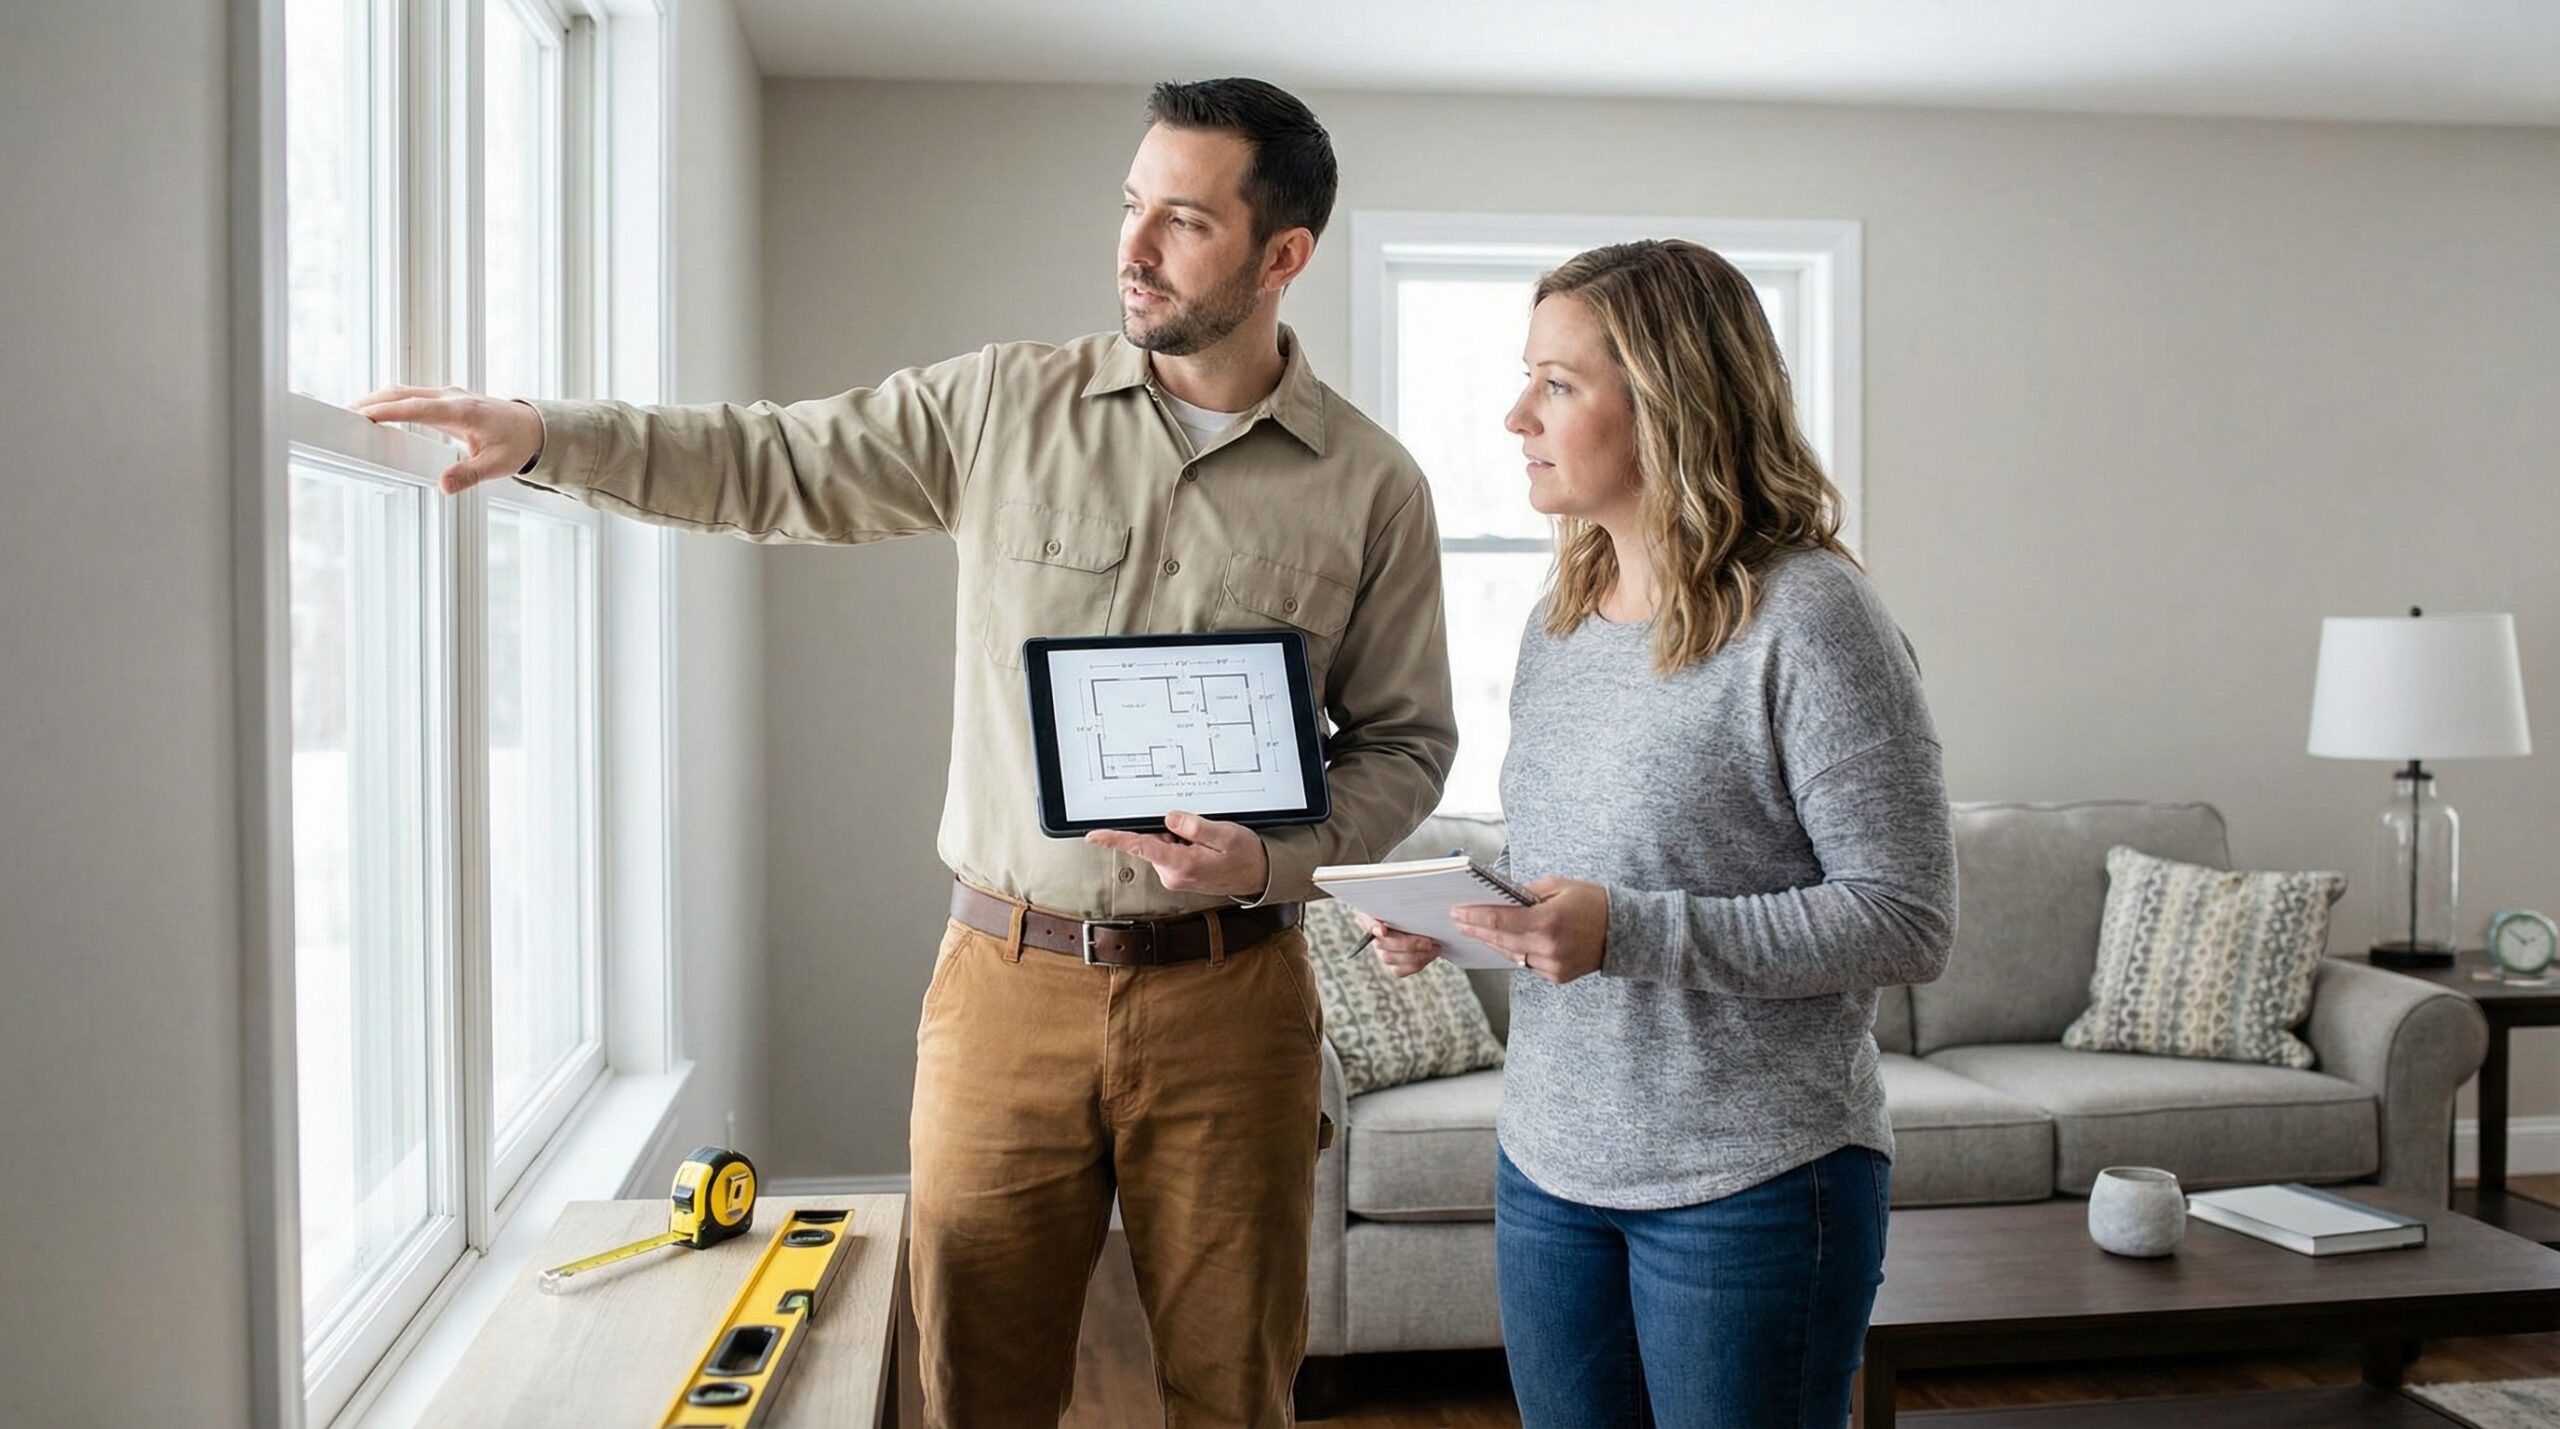
When to call professional contractors
While measuring windows yourself can save money, certain situations call for professional help. If you’re dealing with bay or bow windows, the complex angles and multiple measurements require expertise to get right. These specialty windows often need custom fabrication, and one wrong measurement can be extremely costly.
Structural concerns in older homes also warrant professional assessment. If you notice sagging frames, cracks in the surrounding wall, or significant out-of-square conditions, a contractor can evaluate whether additional repairs are needed before window installation. This is similar to identifying signs that it’s time to replace your home’s siding, where professional expertise ensures accurate diagnosis.
Safety First: For windows above the first floor or in hard-to-reach locations, professional measurement eliminates safety risks and ensures accuracy.
High-end or custom window projects benefit from professional measurement services. Many window manufacturers offer this service, and the small cost upfront can prevent expensive mistakes down the road. Just as choosing a qualified siding contractor is crucial for exterior projects, selecting experienced professionals for window measurement ensures quality results.
Taking accurate measurements is your first step toward successful window replacement. While the process requires attention to detail, following these steps helps ensure your new windows fit perfectly and perform as expected. Remember that when in doubt, professional measurement services provide peace of mind and can save you from costly errors that turn a straightforward project into a major headache. When combined with proper exterior home protection strategies, well-fitted windows contribute to your home’s overall durability and energy efficiency.