
When you’re planning a roofing project in Northeast Ohio, choosing the right sheathing material can make or break your roof’s performance through harsh winters and humid summers. OSB (Oriented Strand Board) has become the go-to choice for over 70% of new residential roofs in the Cleveland area, offering excellent strength at a lower cost than plywood. But getting OSB right means understanding proper thickness requirements, installation techniques, and moisture protection strategies that work in our challenging climate.
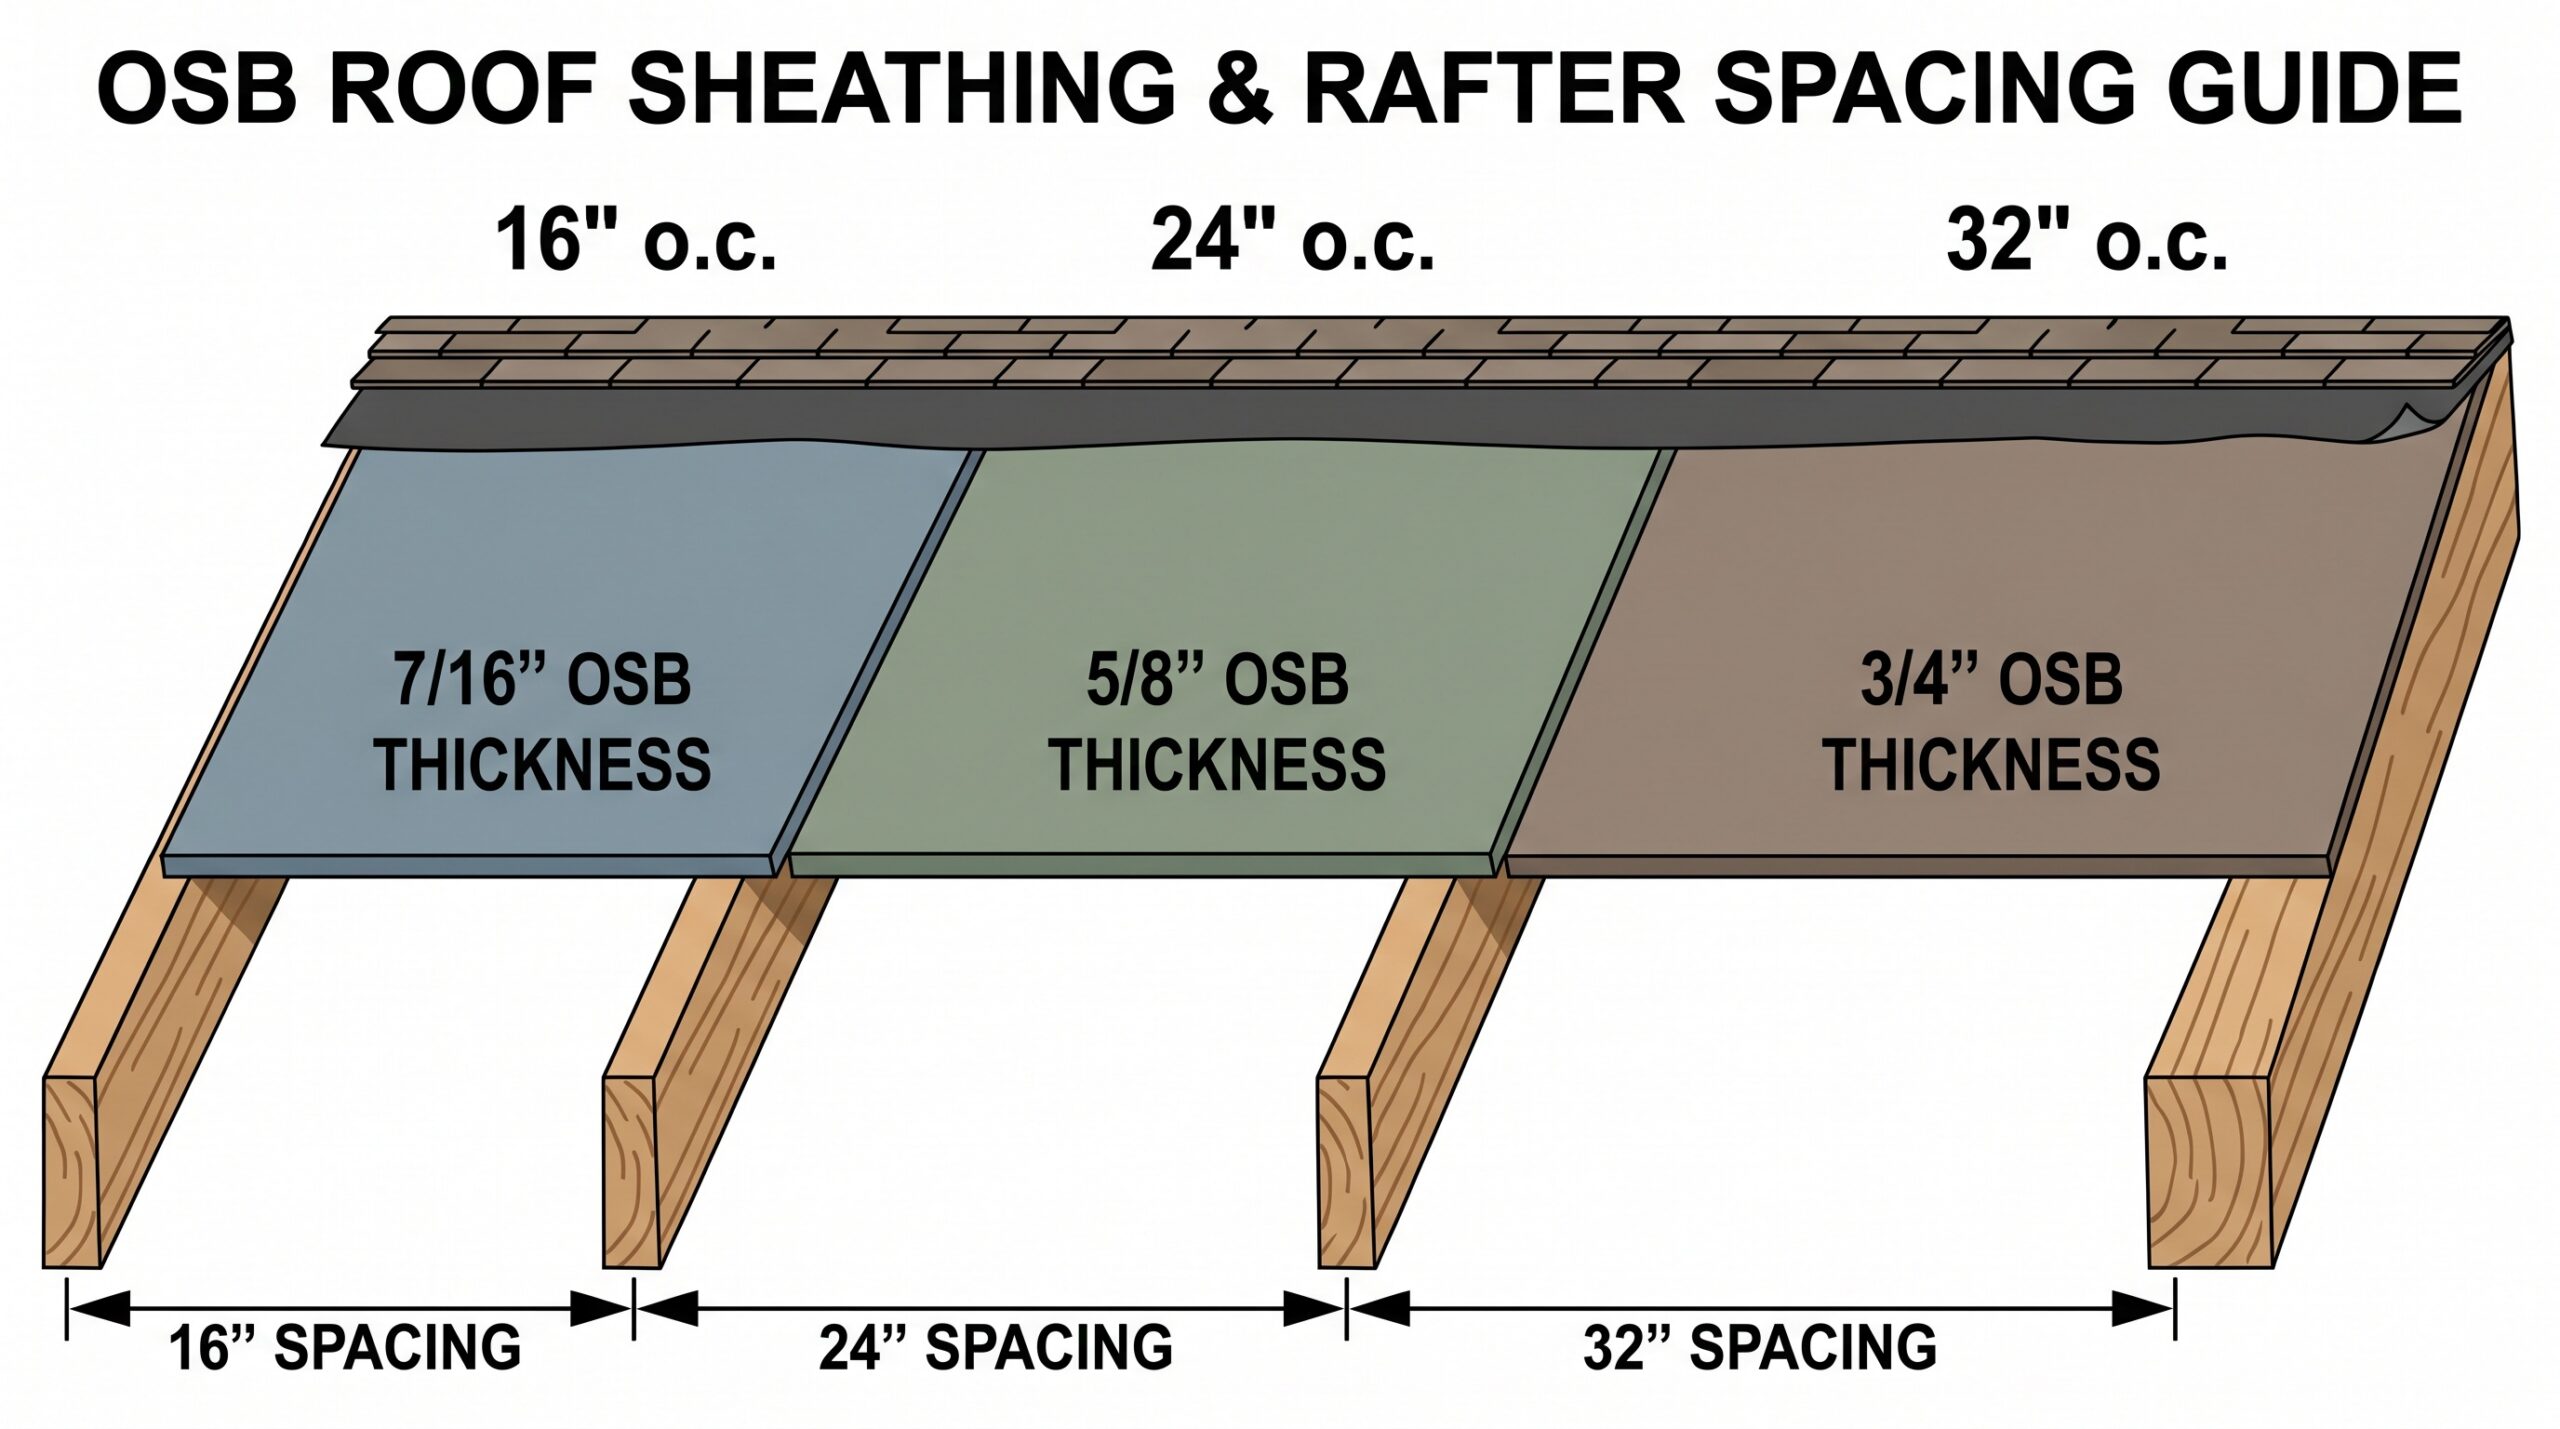
The most common OSB thickness for residential roofing is 7/16 inch for rafters spaced 24 inches on center, while 1/2 inch works better for 16-inch spacing. Proper installation requires leaving 1/8-inch gaps between panels and following specific nailing patterns to prevent swelling and structural issues during Northeast Ohio’s freeze-thaw cycles.
Quick Fact: OSB costs 20-30% less than plywood while providing uniform strength and meeting all residential building codes when properly installed.
What makes OSB suitable for roof sheathing
OSB roof sheathing consists of compressed wood strands layered and bonded with adhesives under heat and pressure. The strands are oriented in specific directions to maximize strength, creating panels that tie rafters together and provide a solid base for roofing materials.
Unlike plywood, OSB has no internal voids or knotholes, giving you consistent performance across the entire panel. This engineered approach means every sheet meets the same structural standards, eliminating weak spots that can cause problems down the road—especially important when dealing with Northeast Ohio’s heavy snow loads and ice dam conditions.
Most residential applications use standard OSB panels measuring 4 feet by 8 feet. The manufacturing process creates a textured side designed for traction and a smooth side that faces down toward the interior. This orientation matters for both safety during installation and proper structural performance.
Choosing the right OSB thickness for your roof
The thickness you need depends primarily on your rafter spacing and local building codes. In Northeast Ohio, where snow loads can reach 30-40 pounds per square foot, proper thickness selection becomes even more critical:
For rafters spaced 16 inches on center, 1/2-inch OSB provides the best balance of strength and stiffness. This thickness minimizes deflection and gives you a solid feel underfoot during installation and maintenance—crucial when working on Cleveland-area roofs during winter months.
When rafters are spaced 24 inches on center, 7/16-inch OSB meets minimum code requirements in most areas. However, many Northeast Ohio contractors prefer upgrading to 1/2-inch for the added stiffness and better fastener holding power, especially when dealing with ice and snow removal.
Heavy roofing materials like slate or tile often require 5/8-inch OSB regardless of rafter spacing. The extra thickness handles the increased load and provides better long-term performance under these demanding conditions.
Always verify your local building codes before making final decisions. Northeast Ohio’s snow load requirements and high wind zones may require thicker panels than the standard recommendations.
Installation best practices for OSB roof sheathing
Proper installation starts with preparing your roof frame. Make sure all rafters or trusses are properly aligned and securely fastened before beginning sheathing installation.
Start at the bottom edge of the roof and work upward. Position OSB panels with the long edge running perpendicular to the rafters for maximum structural strength. The textured side should face up to provide safe footing during roofing work—especially important during Northeast Ohio’s unpredictable weather conditions.
Leave a consistent 1/8-inch gap between all panel edges and ends. This expansion space prevents buckling when the wood expands with temperature and humidity changes—critical in our region where temperatures can swing from -10°F to 90°F throughout the year. Use a 10d nail as a spacer to maintain consistent gaps throughout the installation.
Stagger the joints between rows in a brick pattern. This technique ties the rafters together more effectively and creates a stronger overall roof assembly. Never align vertical joints from one row to the next.
Installation Tip: Drive nails every 6 inches along panel edges and every 12 inches in the field areas, ensuring each nail penetrates the framing by at least 1.5 inches.
Managing moisture and weather exposure
OSB’s biggest vulnerability is moisture exposure, especially at cut edges and panel joints—a particular concern in Northeast Ohio’s humid summers and wet spring seasons. When OSB gets wet, it can swell 15-20% at the edges, compared to 8-12% for plywood. More importantly, OSB takes much longer to dry once saturated.
During construction, OSB can withstand limited exposure to rain, particularly Exposure 1 rated panels designed for temporary weather exposure. However, you should cover the sheathing with underlayment as quickly as possible to prevent edge swelling and delamination—especially important given Northeast Ohio’s frequent spring storms.
Prolonged moisture exposure leads to several problems. Panel edges may swell and create uneven surfaces that telegraph through shingles. In severe cases, the adhesive bonds can fail, causing layers to separate and compromising structural integrity.
Proper ventilation and prompt installation of roofing materials are your best defenses against moisture damage. Ensure adequate attic ventilation to prevent condensation buildup during Northeast Ohio’s temperature swings, and address any leaks immediately to protect the OSB from ongoing water exposure.

| Feature | OSB | Plywood |
|---|---|---|
| Cost | 20-30% less expensive | Higher upfront cost |
| Moisture resistance | More vulnerable to swelling | Better moisture tolerance |
| Strength consistency | Uniform throughout panel | May have voids or weak spots |
| Environmental impact | Uses smaller trees and scraps | Requires larger timber |
Moisture Warning: If OSB edges show visible swelling or the surface feels spongy, replacement is typically necessary as the structural integrity has been compromised.
The key to successful OSB roof sheathing lies in proper thickness selection, careful installation, and immediate moisture protection. When installed correctly with appropriate underlayment and ventilation, OSB provides decades of reliable performance at a fraction of plywood’s cost. For Northeast Ohio homeowners dealing with snow loads and freeze-thaw cycles, working with experienced contractors who understand these regional challenges ensures your OSB sheathing performs as intended throughout all seasons.
At Peak and Valley Roofing, we specialize in proper OSB installation techniques that account for Northeast Ohio’s climate conditions and building codes. Our family-owned company has helped countless Rocky River and Cleveland-area homeowners achieve solid roof decks that stand up to our region’s demanding weather. Whether you’re dealing with storm damage or planning a complete roof replacement, we provide honest, no-pressure guidance to ensure your roof deck provides the solid foundation your home deserves.