
Roof flashing is a thin, waterproof material installed at vulnerable roof intersections to redirect water away from potential leak points. This critical component protects your home by sealing gaps where your roof meets walls, chimneys, vents, and other structures.
Without proper flashing, water can infiltrate these vulnerable areas and cause extensive damage to your roof structure, insulation, and interior spaces. Understanding what flashing is and how it works helps you make informed decisions about your roof’s protection and maintenance needs.
Key Insight: According to roofing professionals, 95% of all roof leaks occur at flashing locations rather than through the shingles themselves, making proper flashing installation crucial for long-term roof performance.
Understanding roof flashing and its critical role
Roof flashing serves as your home’s primary defense against water intrusion at the most vulnerable points of your roofing system. These thin metal or synthetic barriers are strategically placed where different roof components meet, creating watertight seals that channel water safely toward gutters and downspouts.
The flashing works by overlapping with roofing materials in a way that forces water to flow over and around potential entry points rather than seeping underneath. Professional roofers install flashing over underlayment and beneath shingles on traditional roofs, while metal roofing systems typically have flashing installed at the top of panels.
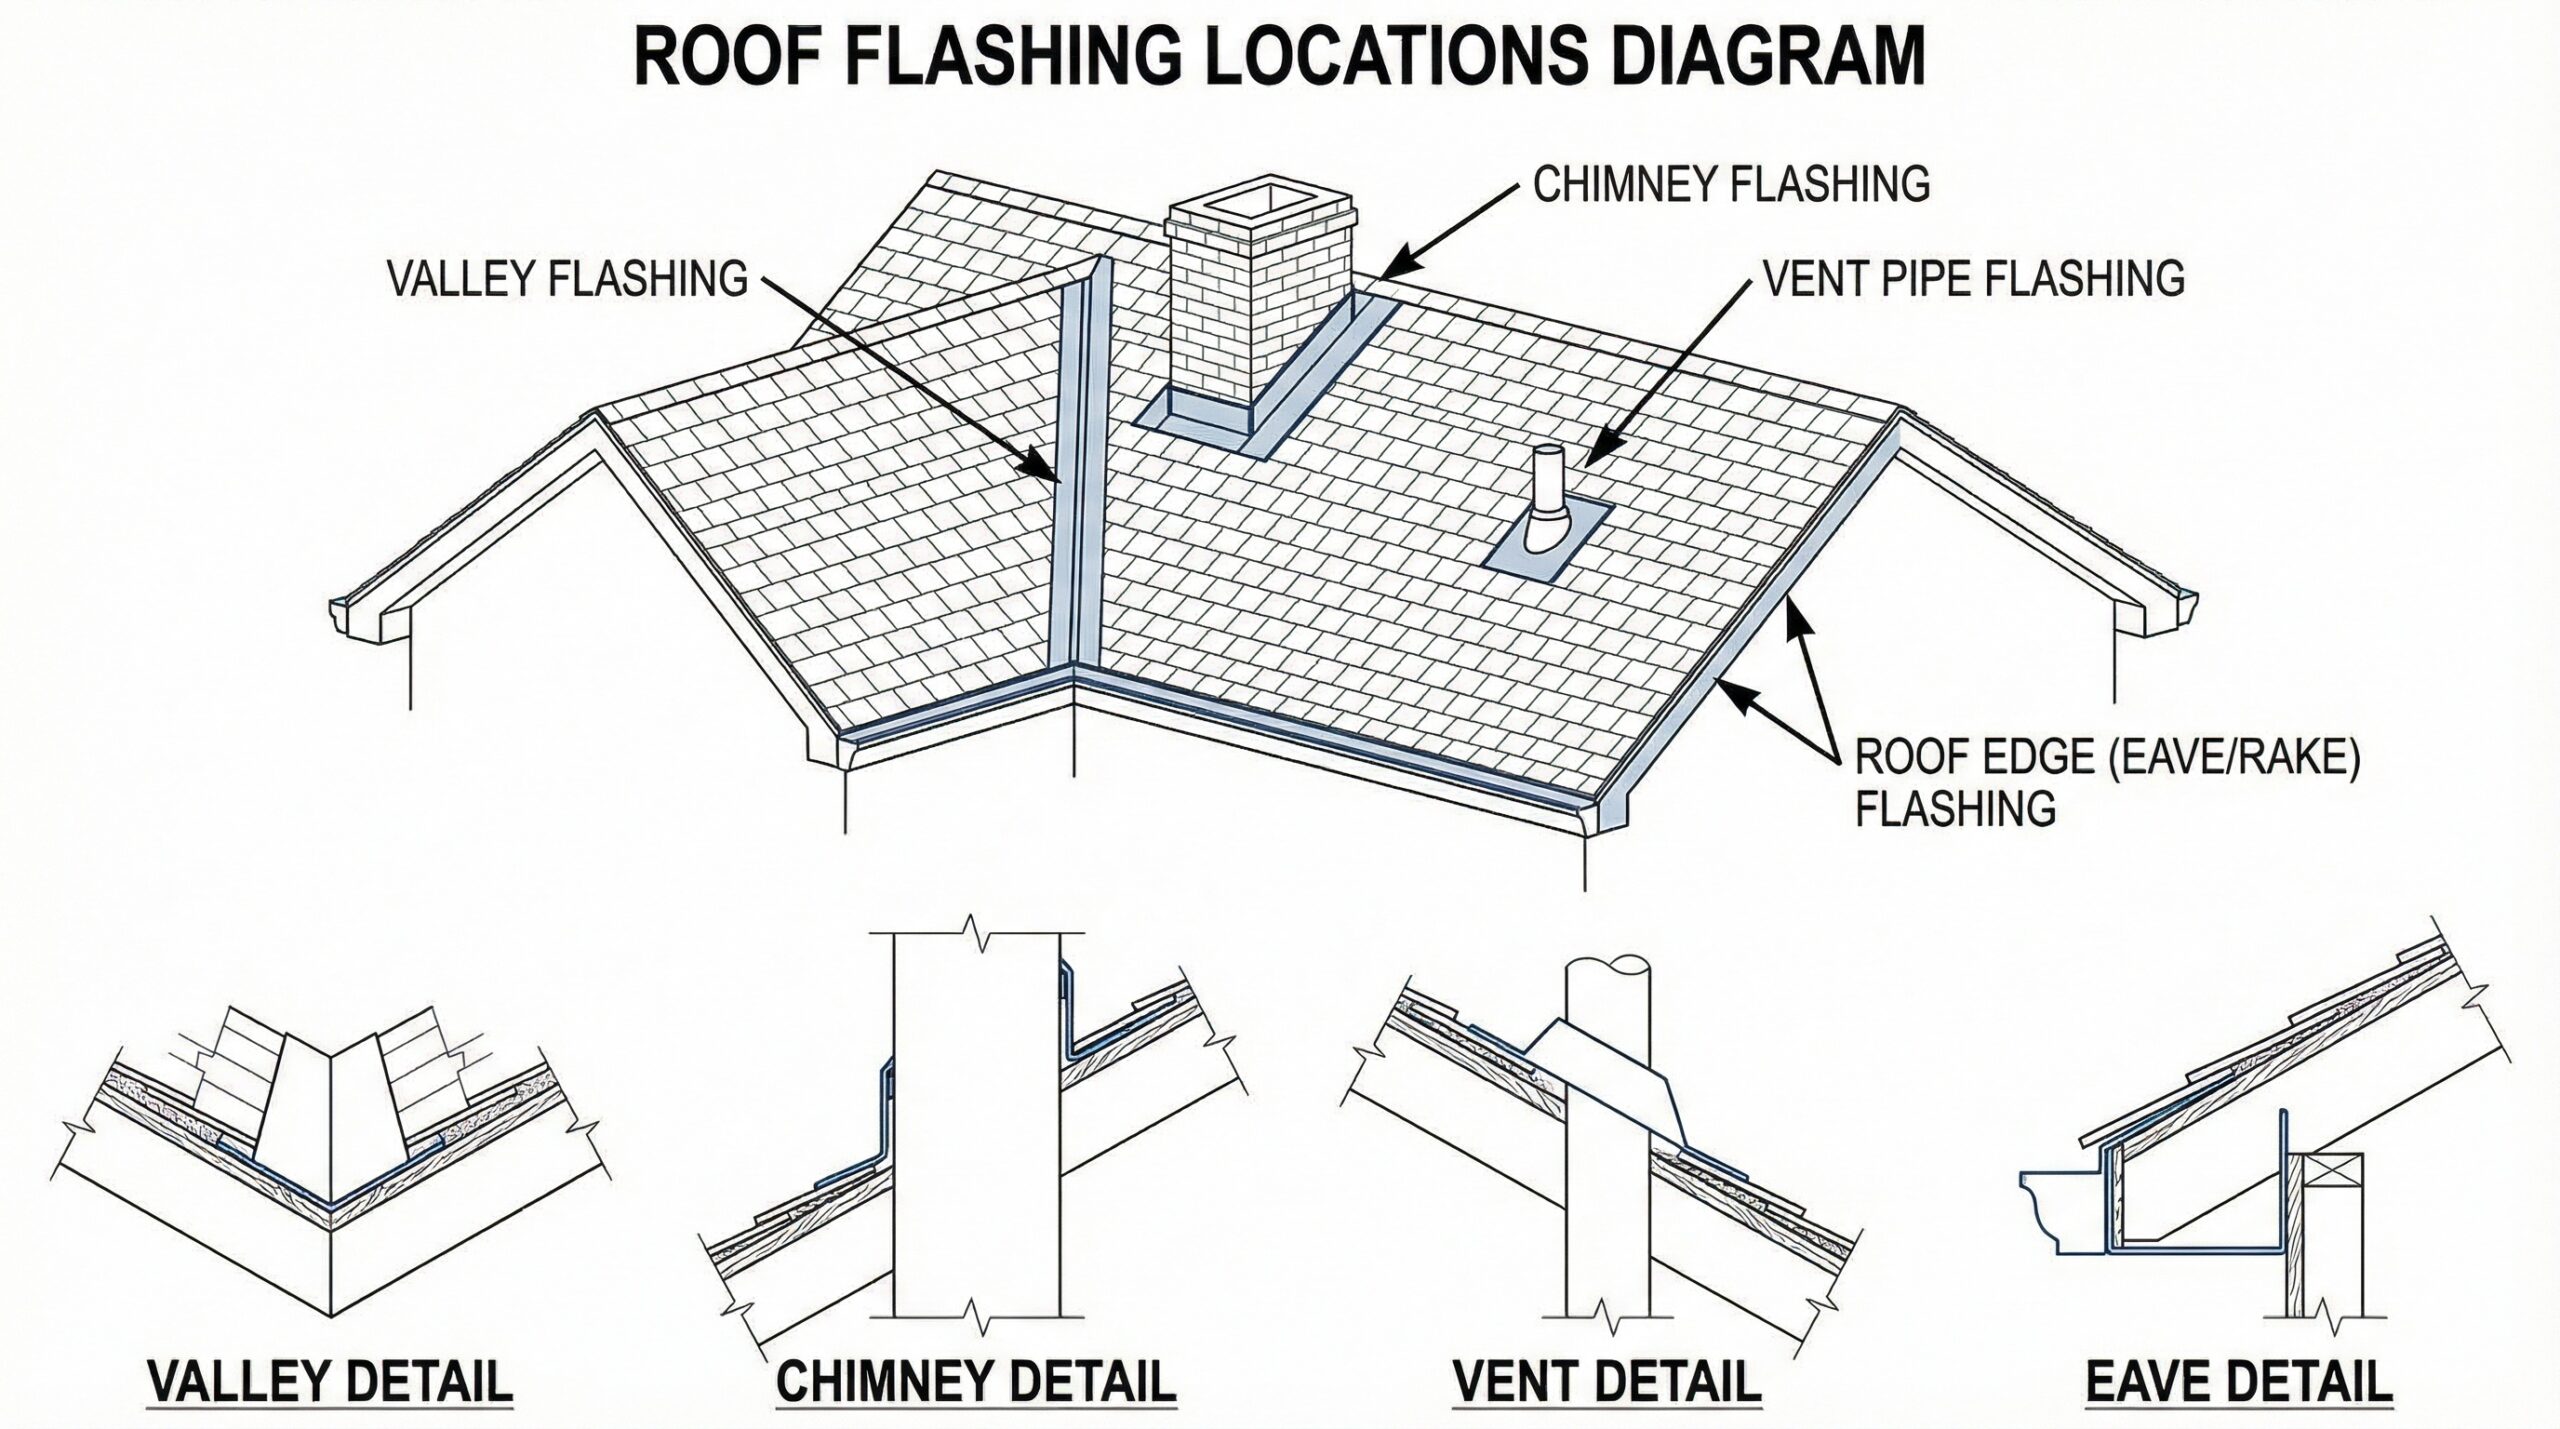
Common locations where you’ll find flashing include roof valleys where two slopes meet, around chimneys and vent pipes, along roof edges, and where dormers or additions connect to the main roof structure. Each location requires specific flashing techniques to ensure maximum protection against water penetration.
Essential types of roof flashing for your home
Different areas of your roof require specific flashing types designed for their unique challenges. Step flashing consists of rectangular metal pieces installed in a staggered pattern along roof-to-wall intersections, allowing independent movement as materials expand and contract with temperature changes.
Valley flashing protects the critical junction where two roof slopes meet, directing the concentrated water flow safely toward gutters. Understanding common roof valley problems can help you identify potential issues before they become serious. Drip edge flashing runs along roof perimeters, preventing water from seeping under shingles and protecting fascia boards from moisture damage.
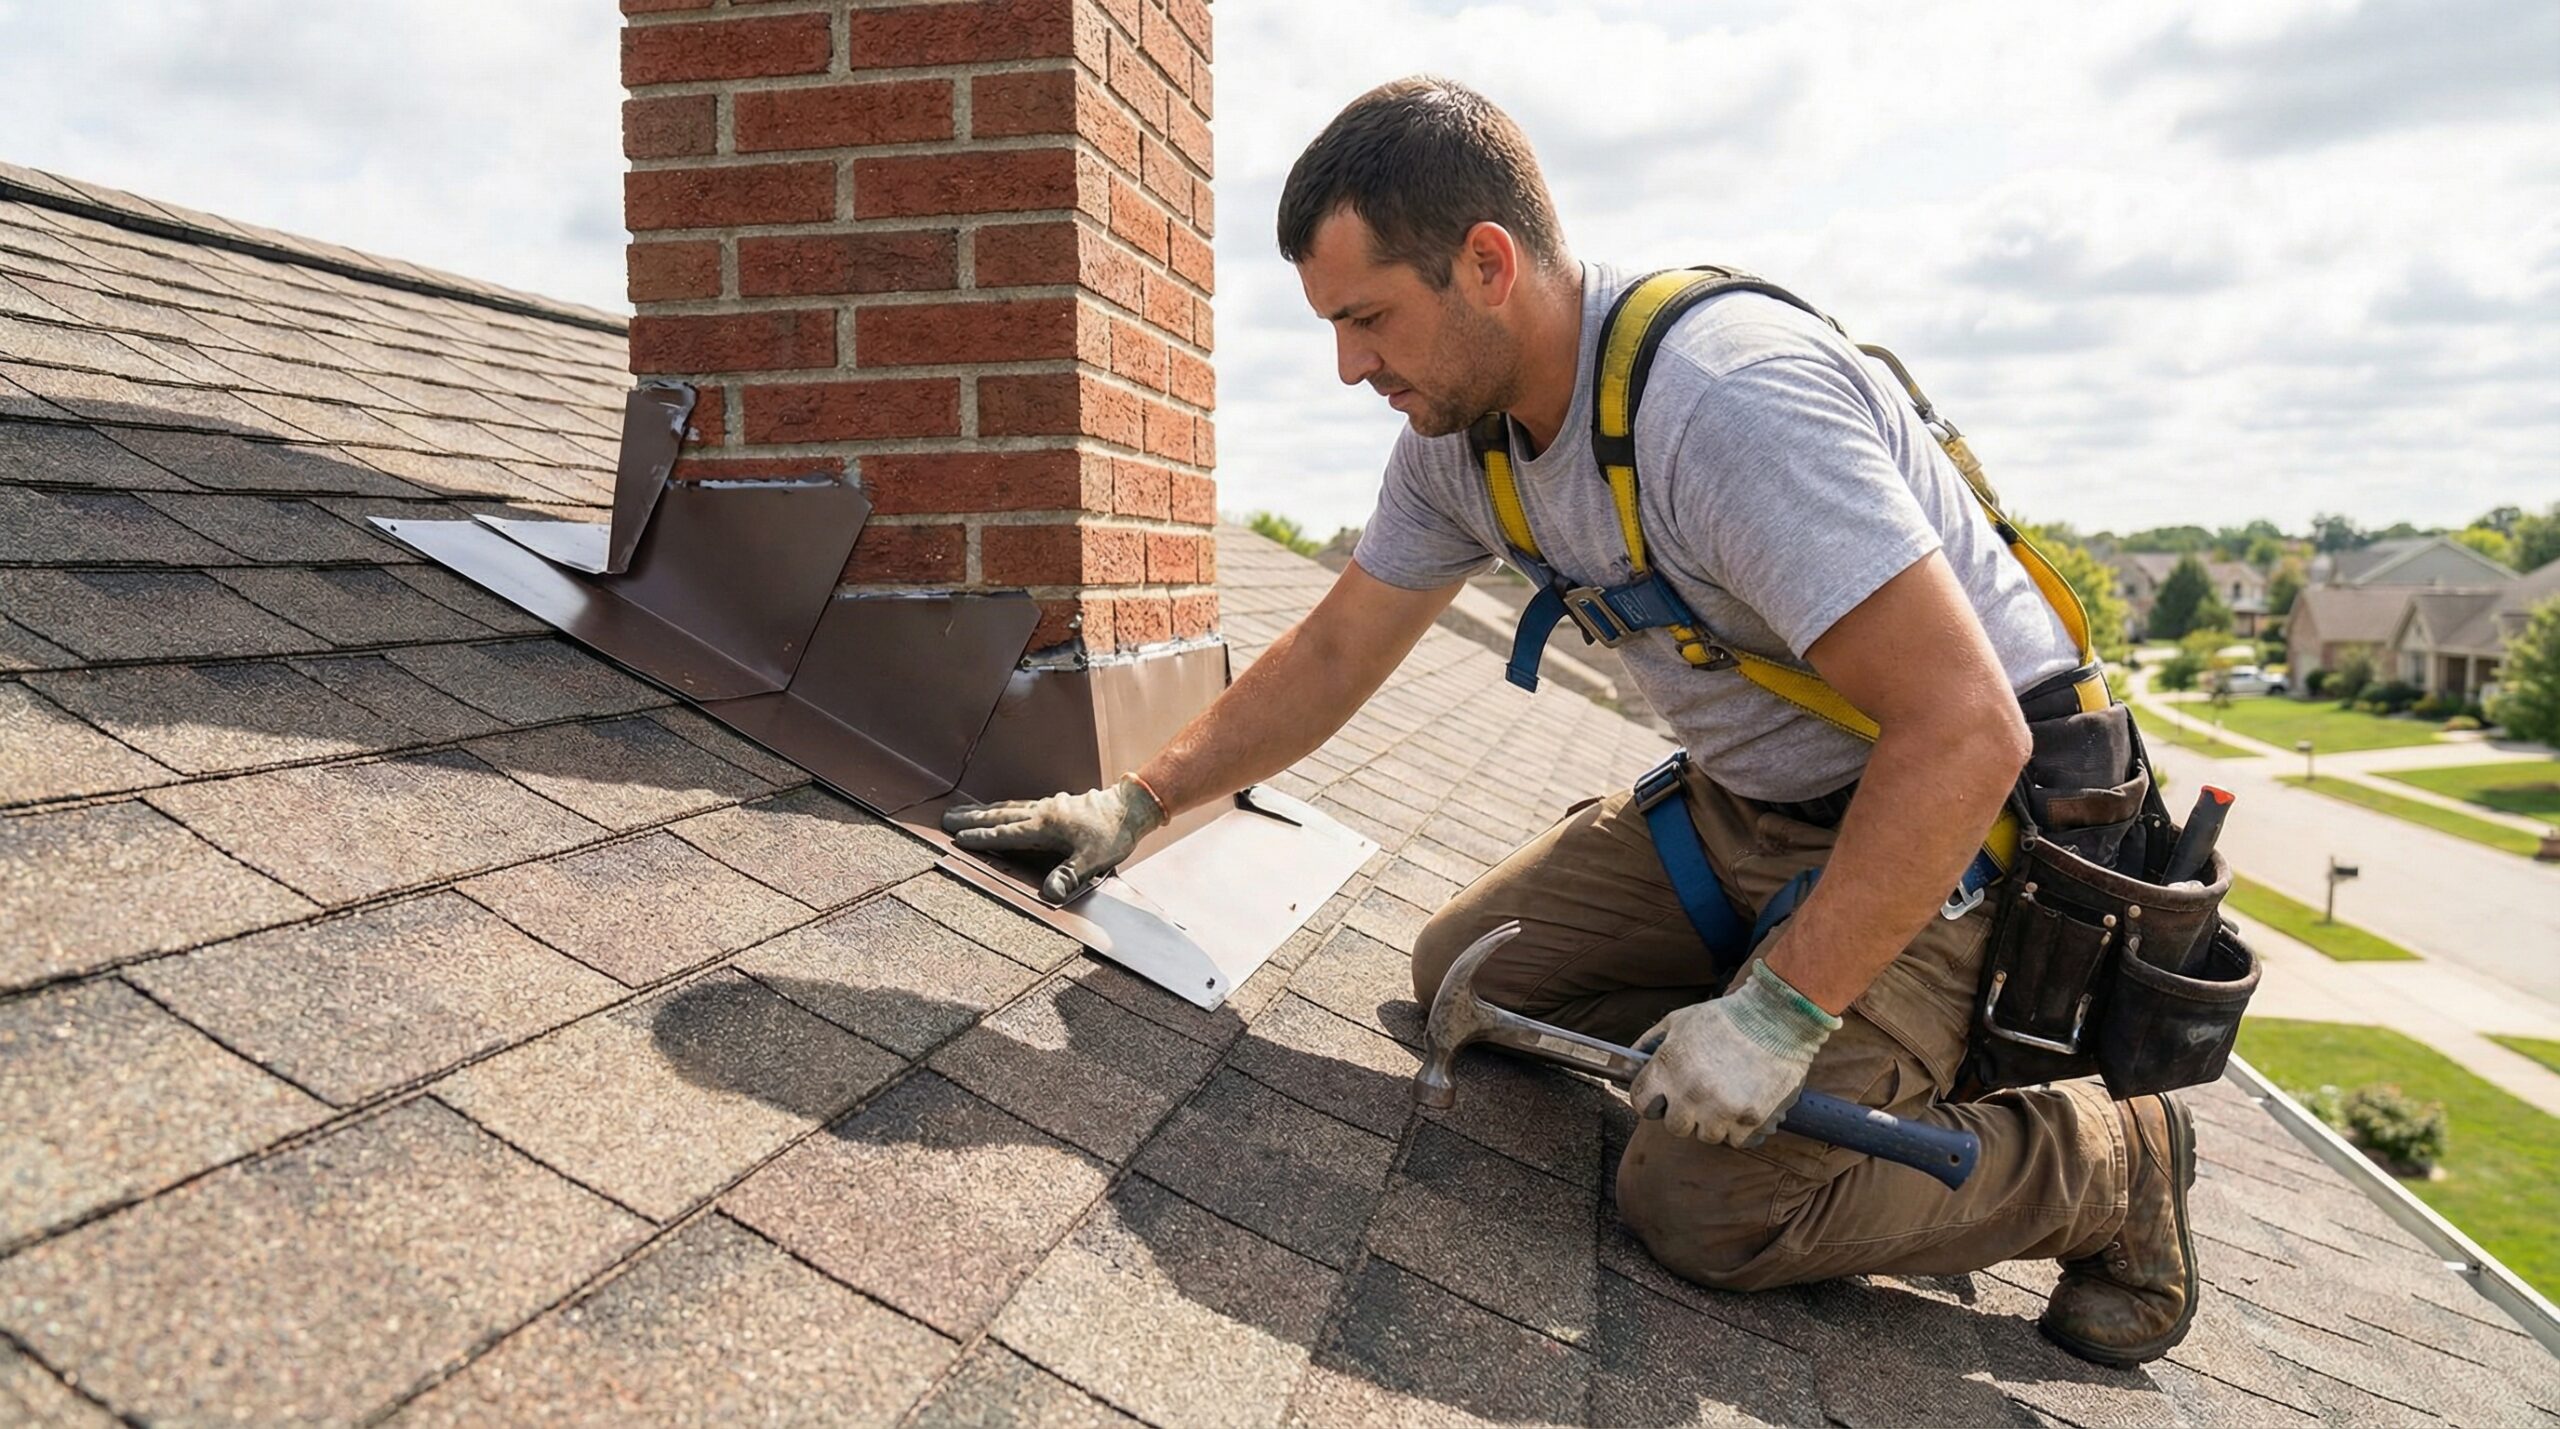
Vent flashing, also called boot flashing, creates watertight seals around plumbing vents and exhaust pipes that penetrate your roof. Chimney flashing typically combines multiple flashing types, including base flashing around the chimney’s perimeter and step flashing along the sides where it meets the roof slope.
Professional Tip: Kickout flashing at the end of roof-to-wall intersections is often overlooked but essential for directing water into gutters rather than behind siding, preventing costly water damage to exterior walls.
Counter flashing provides an additional layer of protection by covering step flashing and preventing water from seeping behind wall connections. Continuous flashing, sometimes called apron flashing, offers long-term protection along extended roof-to-wall joints.
Choosing the right flashing materials
The three primary materials used for roof flashing each offer distinct advantages depending on your specific needs and budget. Galvanized steel remains the most popular choice due to its durability, affordability, and ease of installation. This material resists corrosion better than untreated steel and can be shaped to fit various roof configurations.
Aluminum flashing provides a lightweight alternative that’s easier to work with during installation. However, aluminum requires special coatings when used near masonry or in coastal environments where salt air can cause degradation. This material works well for most residential applications when properly protected.
Copper flashing offers the longest lifespan and develops an attractive patina over time, making it ideal for high-end homes or properties with existing copper elements. For homeowners interested in premium materials, copper roofing and flashing can significantly enhance both protection and aesthetic appeal. While copper costs significantly more upfront, its 50-year lifespan often makes it cost-effective for permanent installations.
| Material | Lifespan | Cost Level | Best Applications |
|---|---|---|---|
| Galvanized Steel | 20-30 years | Low-Medium | General residential use |
| Aluminum | 15-25 years | Medium | Lightweight applications |
| Copper | 50+ years | High | Premium installations |
Professional installation and maintenance considerations
Proper flashing installation requires precise measurements, correct overlap patterns, and appropriate sealant application. Professional roofers follow specific sequences when installing step flashing, ensuring each piece overlaps the previous one by at least three inches and that shingles properly cover nail locations.
The installation process involves careful coordination between flashing placement and roofing material installation. Flashing must be positioned to direct water over the surface of underlying materials rather than allowing it to flow underneath where it can cause damage. When combined with drip edge installation, your roof’s edge protection becomes comprehensive.
Regular maintenance helps extend flashing lifespan and prevent costly repairs. You should inspect flashing annually for signs of corrosion, loose nails, cracked sealant, or physical damage from weather or debris. Missing or damaged flashing requires immediate professional attention to prevent water intrusion.
Maintenance Alert: Roof flashing typically costs between $300 and $1,500 to repair or replace, depending on the extent of damage and accessibility, making regular inspections a wise investment in preventing larger problems.
When flashing fails, water damage can quickly spread to roof decking, insulation, and interior spaces, creating expensive repair situations that far exceed the cost of preventive maintenance. Professional inspection and timely repairs protect your investment and maintain your home’s structural integrity.
Understanding roof flashing helps you make informed decisions about your roofing system’s protection and maintenance needs. While flashing installation should always be left to experienced professionals, knowing what to look for during inspections and understanding the importance of quality materials ensures your home stays protected from water damage for years to come.