
When you think about your roof, you probably picture the visible shingles that protect your home from rain and wind. But there’s an unsung hero working behind the scenes that most homeowners never see: starter shingles. These specialized strips form the foundation of your entire roofing system, creating the first line of defense against water damage and wind uplift.
Starter shingles are the initial layer installed along your roof’s edges before regular shingles go on top. They create a watertight seal at the eaves and rakes while providing a secure foundation for the rest of your roofing materials. Without them, even premium shingles can fail prematurely, leading to costly leaks and wind damage.
Quick Fact: Starter shingles can reduce the risk of shingle blow-off by up to 50% during high-wind events, making them essential for protecting your investment.
Understanding what starter shingles do and why they matter helps you make informed decisions about your roof’s protection and longevity.
Understanding starter shingles and their purpose
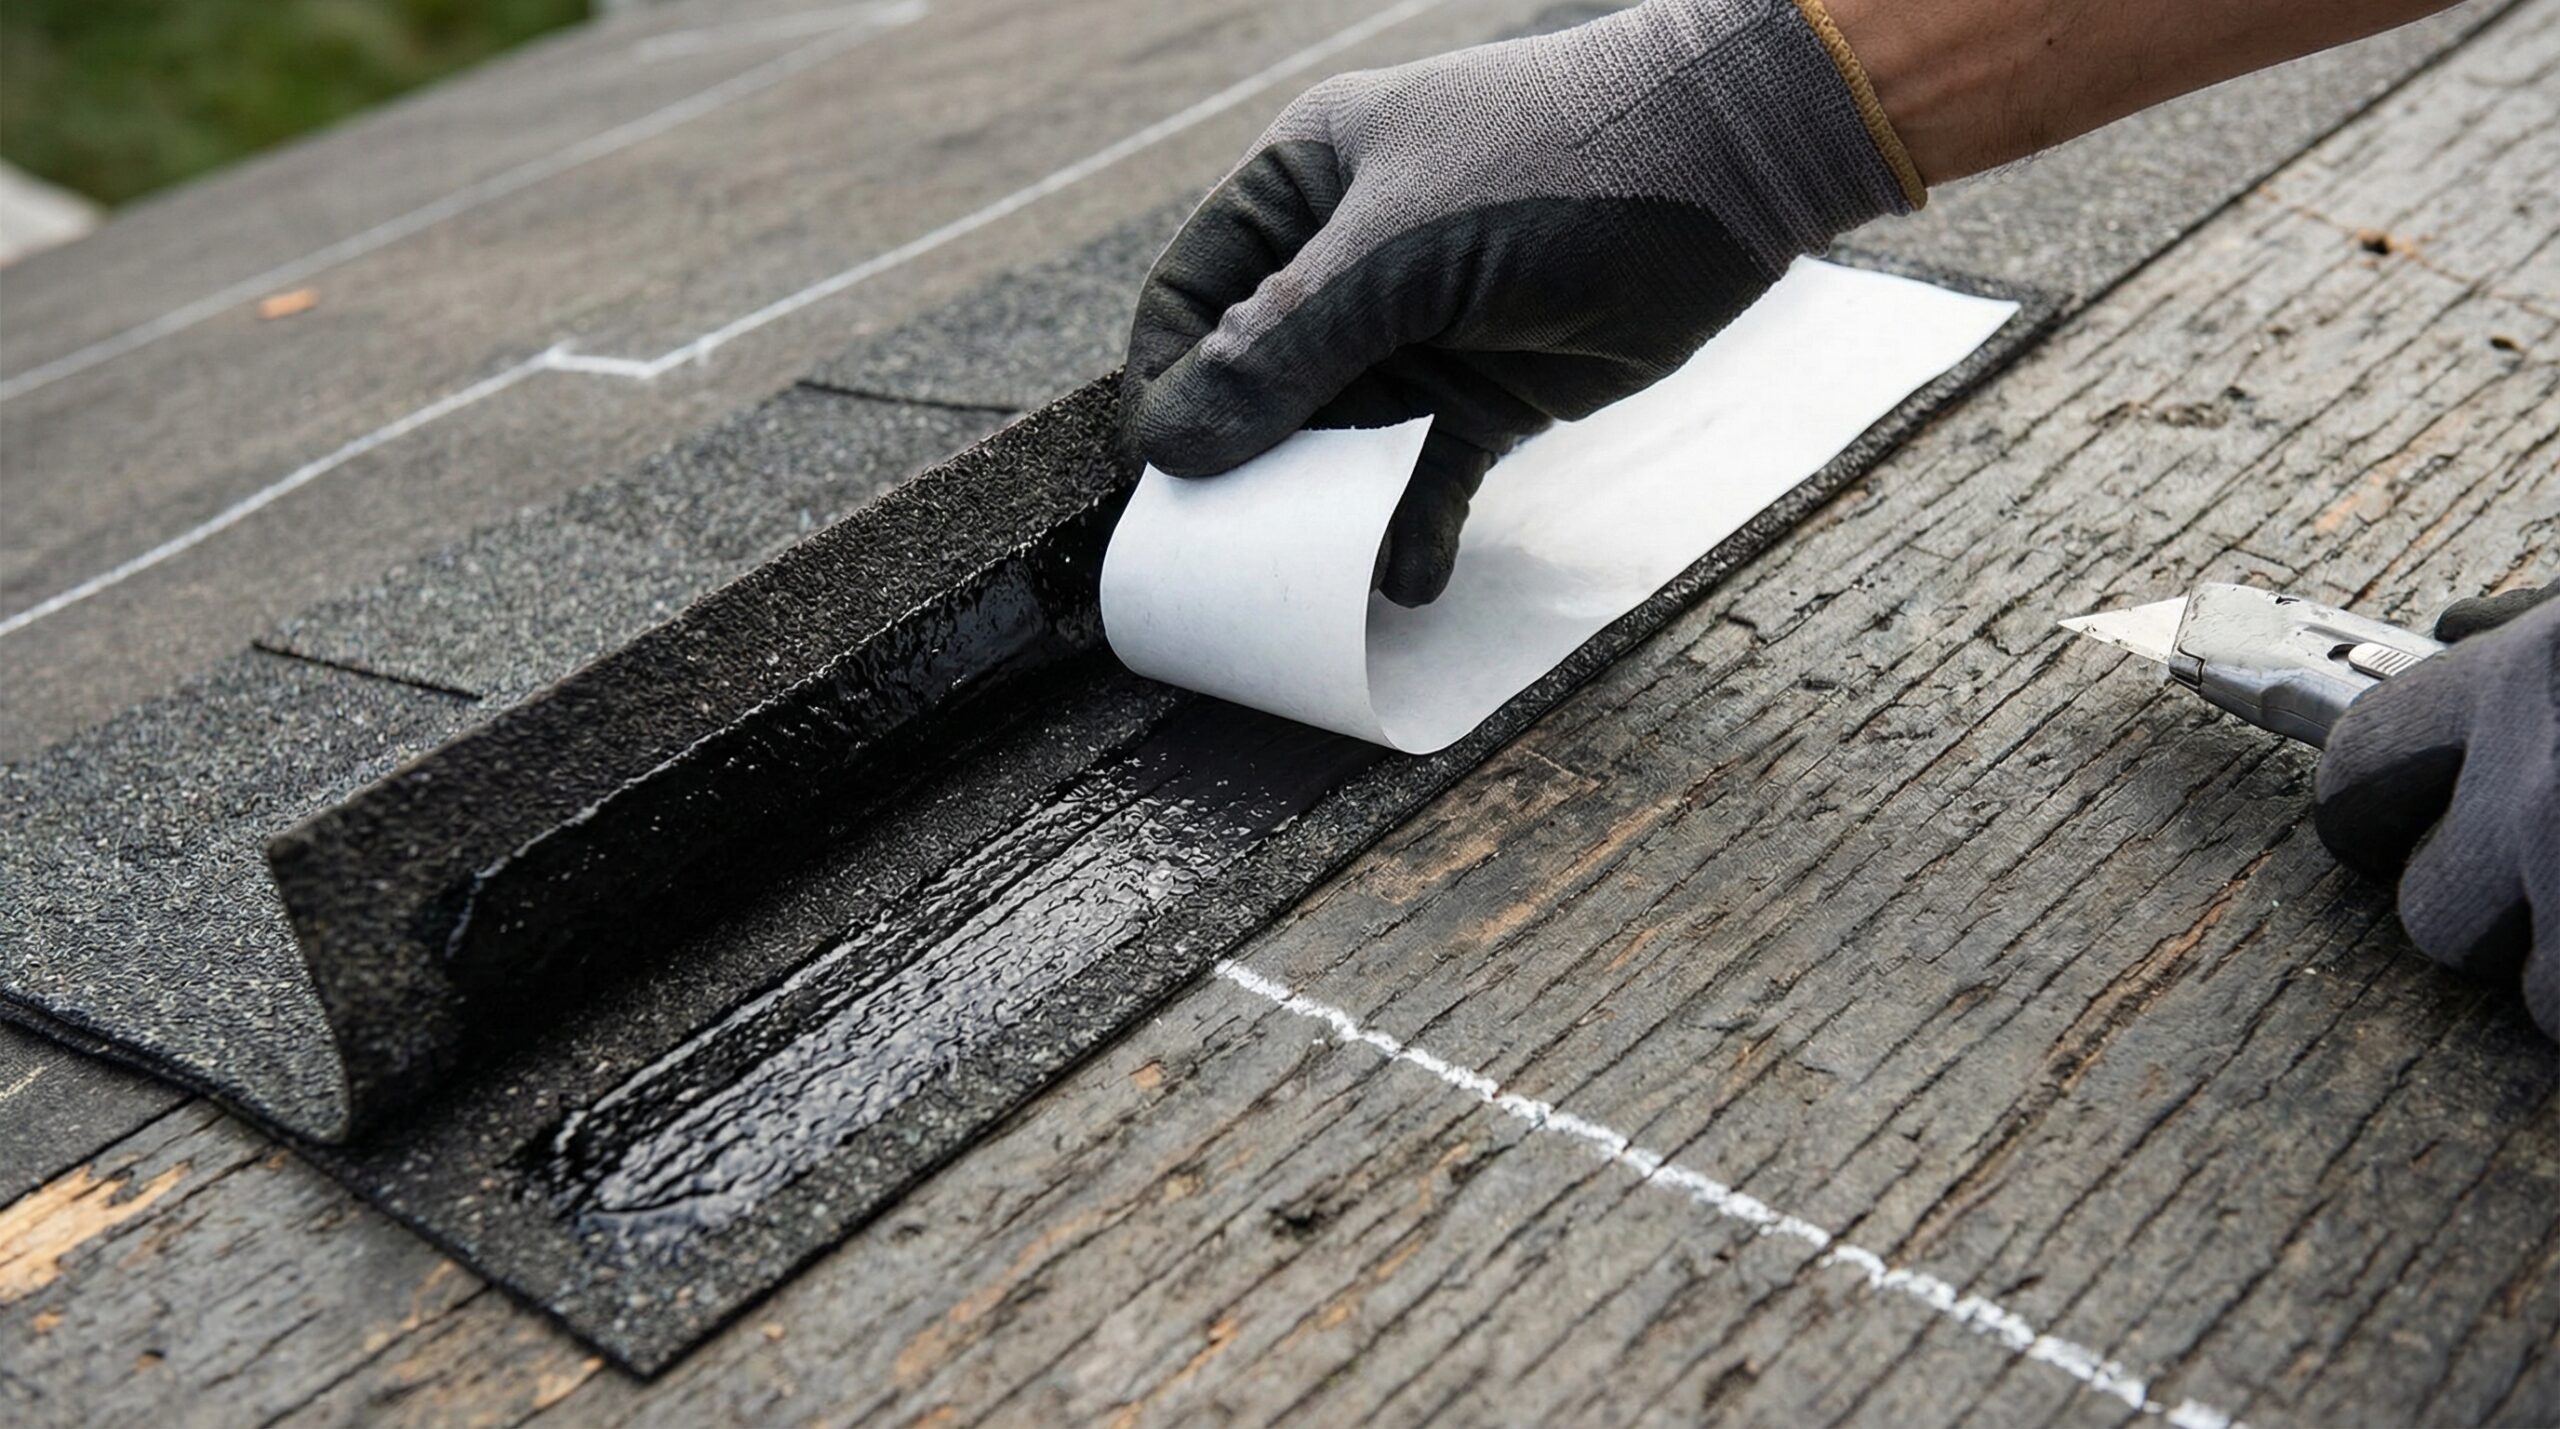
Starter shingles are specialized roofing materials designed specifically for installation at roof edges. Unlike regular shingles that overlap and interlock across your roof’s surface, starter shingles lay flat and feature a continuous adhesive strip along their lower edge.
These strips serve multiple critical functions. They seal the joints between regular shingles at the eaves, preventing water from sneaking underneath your roofing system. The adhesive strip also bonds with the first course of regular shingles, creating a secure connection that resists wind uplift.
Think of starter shingles as the foundation of a house. Just as you wouldn’t build walls without a solid foundation, you shouldn’t install regular shingles without proper starter strips. They provide the stable base that everything else depends on, working in conjunction with other critical components like roof underlayment to create a comprehensive protection system.
Most starter shingles are made from the same durable materials as regular asphalt shingles but are engineered differently. They’re typically rectangular strips without the tabs or architectural features of visible shingles, since they’ll be completely covered once installation is complete. When choosing your roofing materials, it’s important to understand the different types of roofing materials available and how they work together.
Where starter shingles get installed on your roof
Professional roofers install starter shingles in two key locations on your roof. The eaves, which are the horizontal edges where water runs off, always require starter shingles. This placement is non-negotiable because it’s where water naturally collects and flows.
The rakes, or side edges of your roof, also benefit from starter shingle installation. While not always required by building codes, installing starter strips along the rakes provides additional wind resistance and creates a cleaner finished appearance.
At the eaves, starter shingles serve a dual purpose. They conceal the joints between regular shingles while providing that crucial watertight seal. The adhesive strip positioned along the lower edge bonds with the first course of regular shingles, creating a unified barrier against moisture. This works alongside drip edge installation to direct water away from your home’s foundation.
Pro Tip: Installing starter shingles on both eaves and rakes can extend your roof’s warranty coverage with many manufacturers, as it demonstrates proper installation practices.
Along the rakes, starter shingles primarily focus on wind resistance. The adhesive strip helps secure the edges of regular shingles, preventing them from lifting during storms. This protection becomes especially important in areas prone to high winds or severe weather.
The placement creates a guide for roofers installing regular shingles, ensuring straight lines and professional appearance. Without this foundation, achieving clean, even edges becomes much more challenging.
How starter shingles protect your home
The protective benefits of starter shingles extend far beyond their simple appearance. These strips create a comprehensive defense system that addresses your roof’s most vulnerable points.
Water protection stands as the primary benefit. Regular shingles direct water toward the roof edge, but without starter shingles, that water can find its way through gaps and joints. Starter strips eliminate these entry points, maintaining a watertight barrier that keeps your roof decking dry and prevents interior damage.
Wind resistance represents another crucial advantage. Strong winds typically attack roofing systems at the edges first, trying to lift and peel back shingles like pages in a book. Starter shingles anchor the first course of regular shingles, making it much harder for wind to gain purchase and cause damage.
The aesthetic benefits shouldn’t be overlooked either. Starter shingles provide a straight, clean edge that serves as a guide for the rest of your roofing installation. This foundation helps create the professional appearance that adds value to your home.

Even if regular shingles shift slightly during severe weather, the starter strip underneath maintains protection. This backup layer ensures that temporary movement doesn’t compromise your roof’s integrity or lead to leaks. Combined with proper ice and water shield installation, starter shingles create multiple layers of protection against the elements.
Installation considerations and professional requirements
Installing starter shingles requires specific techniques and attention to detail that make professional installation worthwhile. The process begins with proper preparation of the roof deck, including installation of drip edge and underlayment materials.
Nail placement follows manufacturer specifications, typically positioning fasteners just below the adhesive strip and above any cutouts. For three-tab shingles used as starters, nails go above each cutout. Purpose-made starter strips often include pre-marked nail lines for consistent placement.
The adhesive strip must be positioned correctly to bond with regular shingles. This sealant activates with heat from sun exposure, creating the strong bond that provides wind resistance. Improper positioning can compromise this crucial connection.
| Installation Factor | Requirement | Impact |
|---|---|---|
| Nail placement | Below sealant strip | Prevents exposure, ensures hold |
| Overhang | 1/4 to 3/8 inch | Proper water drainage |
| Alignment | Straight edge | Professional appearance |
| Adhesive position | Lower edge | Bonds with first course |
Professional roofers understand these requirements and have the experience to execute them correctly. They also know when specific shingle types require particular starter strip configurations, ensuring your roof meets manufacturer specifications for warranty coverage. Understanding all the parts of a roof helps you appreciate how each component works together for optimal performance.
Important: Many roofing warranties require proper starter shingle installation, making professional installation an investment in your roof’s long-term protection and coverage.
Attempting DIY installation might save money upfront, but mistakes can lead to expensive repairs and voided warranties. Professional installation ensures your starter shingles perform as designed, protecting your investment for years to come. When planning your project, make sure you understand what should be included in a detailed roofing estimate to ensure starter shingles and all necessary components are accounted for.
Starter shingles might be hidden from view, but their impact on your roof’s performance is undeniable. These specialized strips provide the foundation that keeps your entire roofing system secure, dry, and durable. When you’re planning roof work, make sure starter shingles are part of the conversation with your contractor. This small detail can make the difference between a roof that lasts decades and one that fails prematurely.