
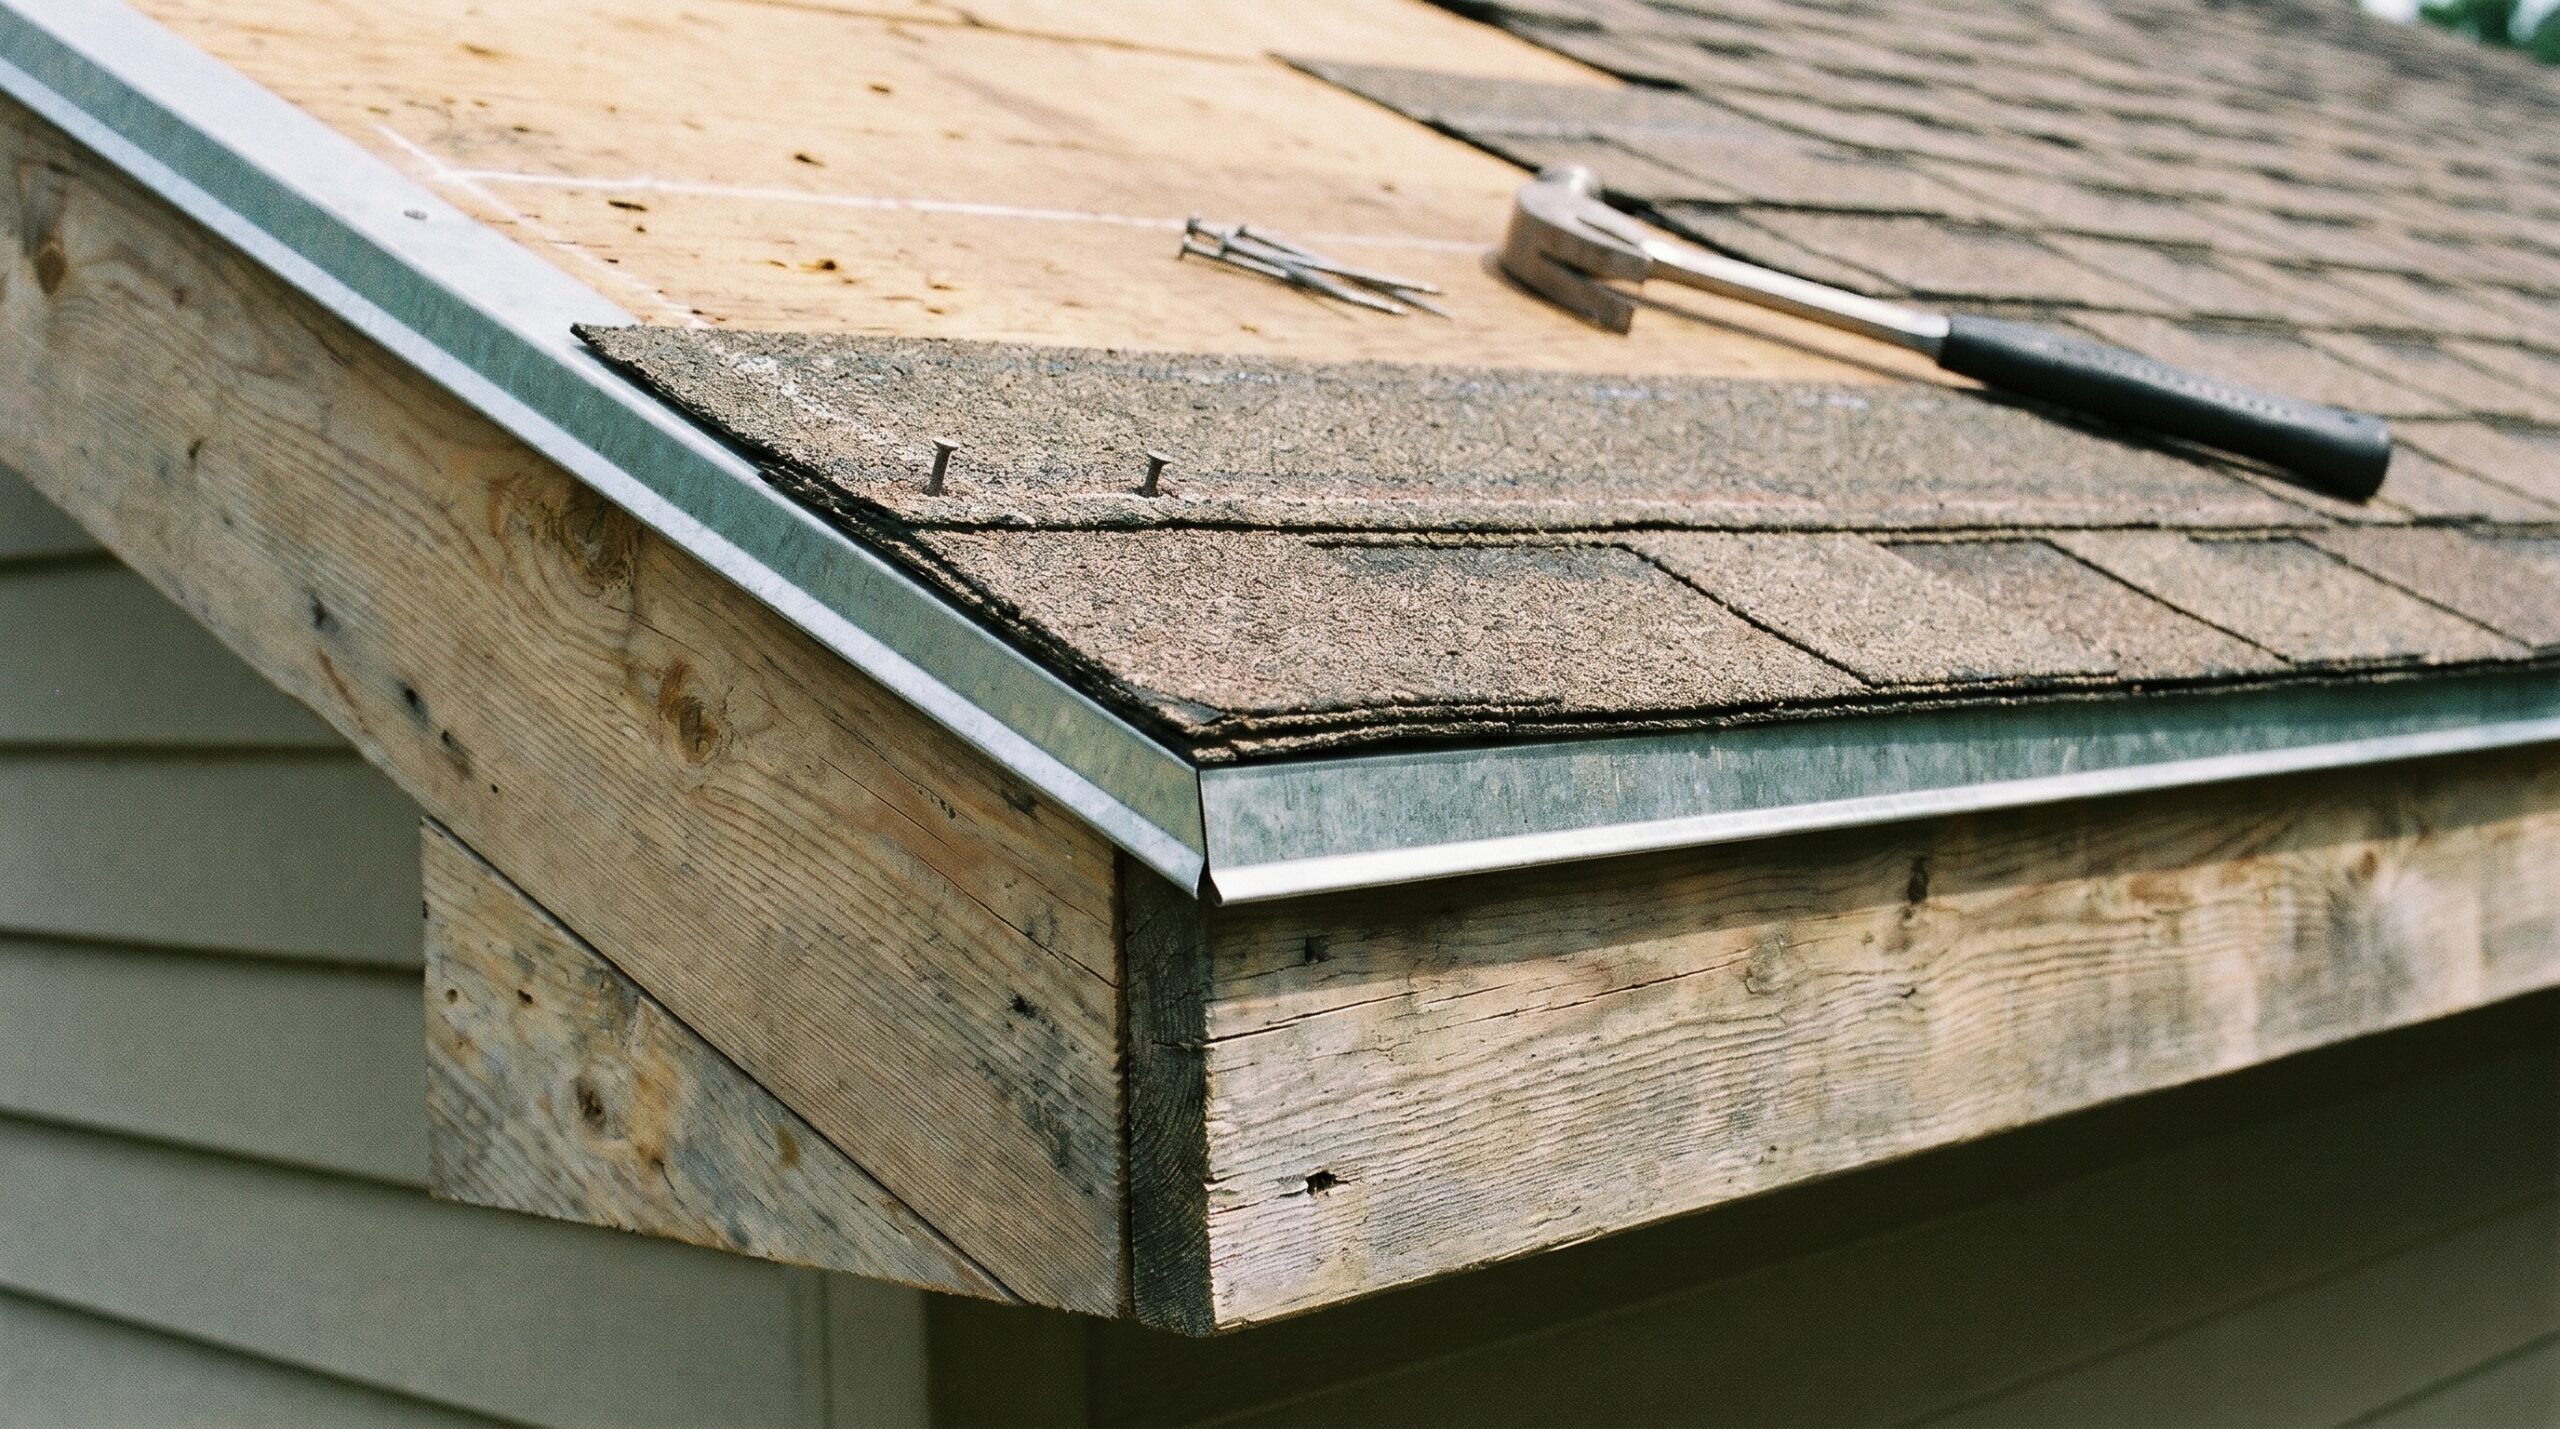
The rake on a roof is the sloped edge that runs from the eaves up to the ridge along the gable ends of your home. You can easily spot it as the angled sides where shingles meet the roof’s edge, forming the triangular shape of a gable roof.
Understanding your roof’s rake matters more than you might think, especially in Northeast Ohio’s variable weather conditions. When properly installed with the right components like drip edge and starter shingles, the rake protects your home from water damage, wind uplift, and structural issues. However, when these details are missing or incorrectly installed, you could face costly repairs, failed inspections, and water intrusion into your walls.
Quick Fact: Building codes typically require drip edge installation at both eaves and gables (rake edges) for shingle roofs to prevent water infiltration and ensure your home passes inspection.
This guide covers everything you need to know about roof rakes, from their basic definition and location to the essential components that must be installed, plus how to spot potential problems before they become expensive repairs.
What exactly is the rake on a roof?
The rake is the inclined edge of your roof that extends from the bottom eave up to the peak or ridge. Unlike the horizontal eaves where gutters typically hang, the rake runs at an angle that matches your roof’s pitch.
On a standard gable roof, you’ll find two rake edges – one on each sloping side of the triangular gable end. These edges are highly visible from the street and play a crucial role in your home’s weather protection system, particularly important for Cleveland-area homes that face wind-driven rain from Lake Erie storms.
The rake serves multiple important functions. It protects the edges of your roof decking from moisture, covers the ends of the rafters, and creates a sealed barrier where your roof meets the exterior walls. Without proper rake details, water can easily penetrate behind your siding and into your home’s structure – a common issue we see after Northeast Ohio’s severe weather events.
Rake vs eave vs gable – understanding the differences
Many homeowners confuse these three roof elements, but each serves a distinct purpose and location on your roof system.
The eave is the horizontal lower edge of your roof where gutters are typically installed. Water flows down your roof and exits at the eaves, making proper drainage critical at this location.
The gable refers to the entire triangular wall section at the end of your roof. It includes both the wall portion below the rake and the rake edge itself.
The rake edge specifically describes the sloped roofline that forms the upper boundary of the gable wall. While eaves handle water flowing straight down, rake edges must manage wind-driven rain that can hit at various angles – particularly important during the strong storms that frequently impact Rocky River and the greater Cleveland area.
| Element | Orientation | Primary Function | Water Management |
|---|---|---|---|
| Eave | Horizontal | Drainage exit point | Direct runoff to gutters |
| Rake | Sloped | Wind/weather barrier | Deflect wind-driven rain |
| Gable | Vertical wall | Structural support | Support rake edge above |
Essential components installed on the rake edge
Your rake edge requires several coordinated components to function properly. Each piece works together to create a weatherproof barrier that protects your home’s structure.
Drip edge forms the foundation of rake protection. This bent metal flashing directs water away from the roof edge and prevents moisture from getting behind your fascia boards or into the wall cavity. Without drip edge, water can soak into the roof decking and cause rot.
Starter shingles create the first sealed course along the rake. These pre-cut strips have adhesive backing that bonds to the field shingles above, preventing wind from getting underneath and lifting your roofing material during storms – crucial protection for homes in Northeast Ohio where high winds are common.
Rake boards or fascia provide the visible trim along the rake edge. These boards give your roof a finished appearance while supporting the drip edge and creating a mounting surface for gutters or decorative elements.
Underlayment positioning at the rake follows specific installation requirements. The underlayment must be installed over the drip edge at eaves but under the drip edge at rake edges to ensure proper water shedding.
Important Detail: The International Residential Code requires drip edge to extend at least 1/4 inch below the roof decking and up at least 2 inches onto the roof surface for proper protection.
Types of rake designs and their benefits
Rake edges come in two main configurations, each offering different advantages for protection and appearance.
Overhanging rakes extend beyond the gable wall, typically 6 to 12 inches. This overhang provides extra protection from wind-driven rain and creates shadow lines that enhance your home’s architectural appeal. The extended rake also helps shield the siding below from weather exposure – particularly beneficial for homes in the Cleveland area that face moisture from Lake Erie weather patterns.
Flush rakes align with the gable wall for a clean, simple appearance. While they don’t offer the extra weather protection of overhanging rakes, they’re easier to maintain and less susceptible to wind damage. Flush rakes work well on contemporary home styles where clean lines are preferred.
Many overhanging rakes incorporate decorative elements like brackets, exposed beam ends, or detailed trim work. These features can significantly enhance your home’s curb appeal while maintaining the protective function of the rake edge.

Common problems when rake details go wrong
Poor rake installation creates several serious issues that can affect both your home’s structure and your wallet. Recognizing these problems early helps you address them before they become major repairs.
Water infiltration tops the list of rake-related problems. Without proper drip edge, water runs behind the fascia and soaks into the roof decking. You’ll notice this as peeling paint on rake boards, water stains on interior walls near the gable, or soft spots in the roof edge.
Shingle blow-off occurs when starter shingles are missing or improperly installed along the rake. High winds can get under the shingle edges and peel back entire sections of roofing. This leaves your roof decking exposed to weather and creates an immediate leak risk – a particular concern after the severe storms that regularly impact Northeast Ohio.
Failed inspections happen when drip edge is missing or incorrectly installed. Most building codes require drip edge at both eaves and gables, so missing this component can prevent you from passing final inspection or create issues when selling your home.
Cost Reality: Fixing water damage from poor rake details often costs 10 times more than installing proper components initially, especially when structural repairs become necessary.
Regular inspection of your rake edges helps catch problems early. Look for visible gaps between trim pieces, sagging fascia boards, or any areas where you can see daylight through the rake assembly from inside your attic. If you’re dealing with storm damage or insurance claims, proper rake installation is often a key component that insurance adjusters look for during their assessments.
Understanding your roof’s rake and its components helps you make informed decisions during roof replacement or repair projects. When properly detailed with drip edge, starter shingles, and quality trim materials, your rake edges will protect your home for decades while enhancing its appearance. Always ensure these critical details are included in any roofing estimate and installed according to local building codes.